
Create an OLAP partition
Introduction
Create an OLAP partition definition to identify an analytical table and the source query that selects the rows assigned to that partition. Use partitions when your analytical design calls for separate sets of data, such as defined date or key ranges.
This how-to covers creating the definition, saving it, and checking that the saved settings match the intended table and row coverage. Saving the definition does not generate, deploy, or process the analytical model.
The screenshots illustrate the interface. Use the objects, names, schemas, and settings required by your Data Warehouse (DWH) project; the pictured values are examples.
Applicability
Use this workflow for an existing fact or dimension in the Data Mart Layer (DM). Multidimensional models support partitions for facts; tabular models support partitions for both facts and dimensions.
The steps use the AnalyticsCreator desktop interface with Datamart → Partitions and a partition editor containing Partition name, Table, Slice, and SQL.
Prerequisites
3.1. An open Data Warehouse (DWH) project that you can edit, with the analytical table already defined in the Data Mart Layer (DM).
3.2. The target analytical model type and a plan for the rows this partition must include. If the table has other partitions, their intended row ranges must also be known.
3.3. A complete source query using existing objects and returning the columns and rows required by the selected table and partition design.
3.4. A confirmed Slice requirement for the target model: either a validated value or confirmation that the field should remain blank.
Steps
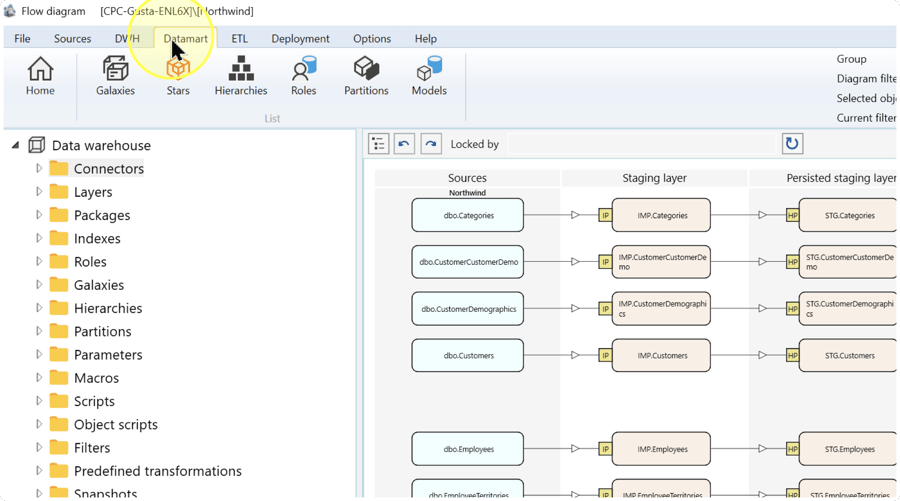
Open the Datamart ribbon
In the open Data Warehouse (DWH) project, click the Datamart tab on the toolbar.
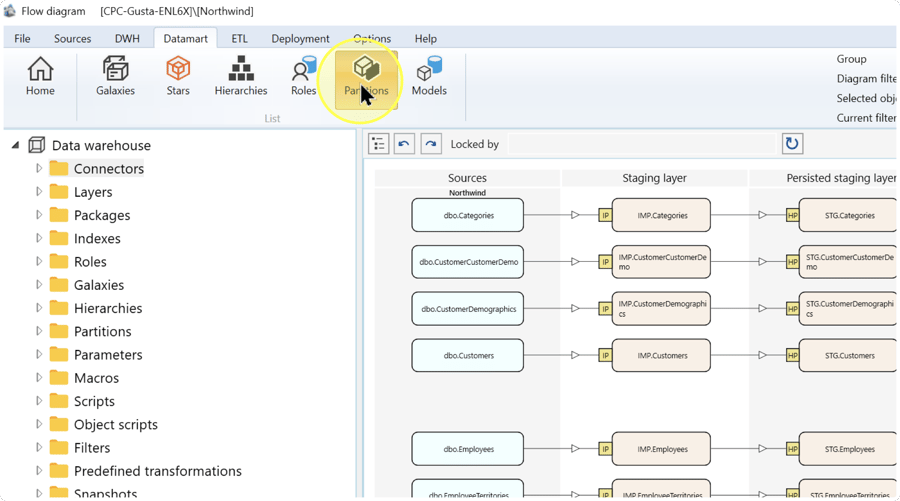
Open Partitions
On the Datamart ribbon, click Partitions in the List group to open the partition list.
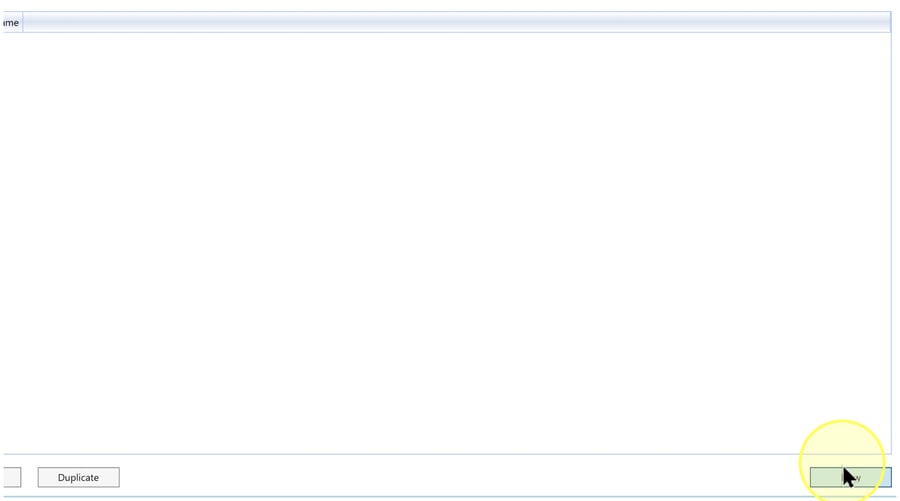
Create a partition definition
In the Partitions list, click New at the bottom right to open the editor for a new partition.
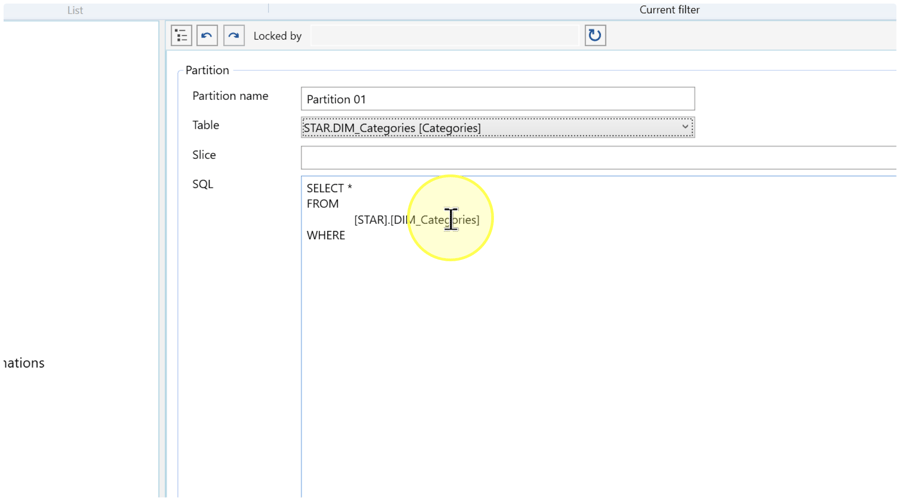
Enter a name and select the table
In the partition editor, enter Partition name, then select the analytical table from Table.
- Partition name — Identifies the definition. Choose a name that helps you recognize the table and intended row coverage.
Partition 01is the pictured naming example, not a required name. - Table — The fact or dimension in the Data Mart Layer (DM) whose data you want to partition. A fact represents measurable business events, balances, or transactions; a dimension represents descriptive business data. For a multidimensional model, select a fact. For a tabular model, select the fact or dimension required by your design.
Check the schema and table name before continuing. The example STAR.DIM_Categories [Categories] shows a dimension selection; use it only if that is your intended table in a tabular model.
![Partition editor with the example name Partition 01 and the Table list open on STAR.DIM_Categories [Categories].](https://www.analyticscreator.com/hs-fs/hubfs/images/how-to/042-create-olap-partitions%20-%202026-08-31_18-39-25/042-create-olap-partitions%20-%202026-08-31_18-39-25_Step004.webp?width=900&name=042-create-olap-partitions%20-%202026-08-31_18-39-25_Step004.webp)
Set Slice and complete the source query
Complete the remaining settings in the same partition editor:
- Slice — A value or expression identifying the portion of the analytical table covered by the partition. It is separate from the SQL query that selects the rows. If the target model requires a Slice value, enter the value validated for that model and check that it describes the same portion of data as the query. Leave the field blank only when that is the confirmed configuration for your model. The blank field in the screenshot is an example, not a default to apply to every partition.
- SQL — The source query that selects the partition data. Enter or complete the query so that it returns the selected table’s required columns and intended rows. If the partition covers a subset, include a complete
WHEREcondition that selects that subset. If the partition is intended to include every row, omit the entireWHEREclause.
For several partitions on one table, compare the query conditions across all of them. Check that their combined coverage includes the intended data without unintended overlaps or gaps, including rows at date or key boundaries.
Entire-table query example: if [STAR].[DIM_Categories] exists and every row belongs in this partition, the query can be:
SELECT *
FROM [STAR].[DIM_Categories];
This example selects all columns and all rows from the pictured table. Use your own table and required columns. Do not use this unfiltered example for partitions that must contain different subsets.
Review and save the definition
Before saving, complete these checks:
4.6.1. Confirm that Partition name identifies the intended definition and Table is the correct analytical table for your model type.
4.6.2. Check that Slice matches the confirmed model requirement and SQL is complete, references the intended objects, and selects the planned rows.
4.6.3. Click Save. If a validation message appears, address the stated issue before checking the saved definition.
Continue with Expected Results, to check that the definition was saved as intended.
Expected Results
The new partition definition is saved in the project with the intended name, table, Slice, and source query.
Find the saved partition
Click Datamart → Partitions. Enter the partition name in Search criteria and click Search. Find the row whose Name and Fact table columns match the definition you created. The column is labeled Fact table even in the illustrated dimension example.
Compare the saved settings
Double-click the matching row. Compare Partition name, Table, Slice, and SQL with the configuration reviewed in Review and save the definition. The query must contain no unfinished clauses and must reference the intended existing objects.
Check coverage and the task outcome
Compare the saved query’s row selection with the coverage plan. If the table has several partitions, check their combined ranges for unintended overlaps or gaps. Successful save and read-back confirm the definition; generation, deployment, processing, and processed row-count checks are separate tasks.
Decisions and variations
Fact or dimension
Choose the table according to the target model: a fact for a multidimensional model, or a fact or dimension for a tabular model. Make this choice in Enter a name and select the table.
Entire table or a subset
Use an unfiltered query only when this partition should contain every row. For separate date or key ranges, use your project’s fields and boundaries in complete query conditions. Review the coverage checks in Set Slice and complete the source query.
Slice configuration
Use the confirmed Slice configuration for the target model as described in Set Slice and complete the source query. A blank screenshot field does not determine whether your model needs a value.
Troubleshooting
- Required object is missing — Check the Data Warehouse (DWH) project, schema, and table type. If a saved partition is missing from the Partitions list, check the text in Search criteria and click Search again. Do not select a different table merely to continue.
- Save is unavailable or fails — Read any displayed validation message and review the settings in Review and save the definition. Complete an unfinished query, including any condition after
WHERE. If Locked by names another user, coordinate with that user before retrying. Reopen the definition after saving to check that the intended changes persisted. - Saved definition differs from the intended result — Reopen the intended partition and compare its table, Slice, and SQL with your design. Correct the differing settings and save again. If the saved settings match but processed data differs, investigate the model’s deployment and processing separately; saving alone does not verify runtime behavior.
