
Introduction
Create a Link to relate Data Vault business keys and, when required, create a Link Satellite for descriptive link attributes in the same wizard. Configure the Main fields, review the Link options and included tables, then inspect the resulting definitions before execution.
Applicability
Use the source-table context-menu route Add > Data vault link. Vault Wizard: new link provides separate Main and Link tabs for this workflow.
Prerequisites
- The participating Hubs and their hash keys identified in the intended model.
- The relationship grain: which combination of business keys each Link relationship represents.
- The source table, transformation and Link names/schemas, historization/package choices, and any Link Satellite attributes and package.
Steps
Open the new-link wizard
On the flow diagram, open the context menu for the source table. The example uses IMP.Categories.
Open the source-table context menu to reach the Vault Wizard commands. 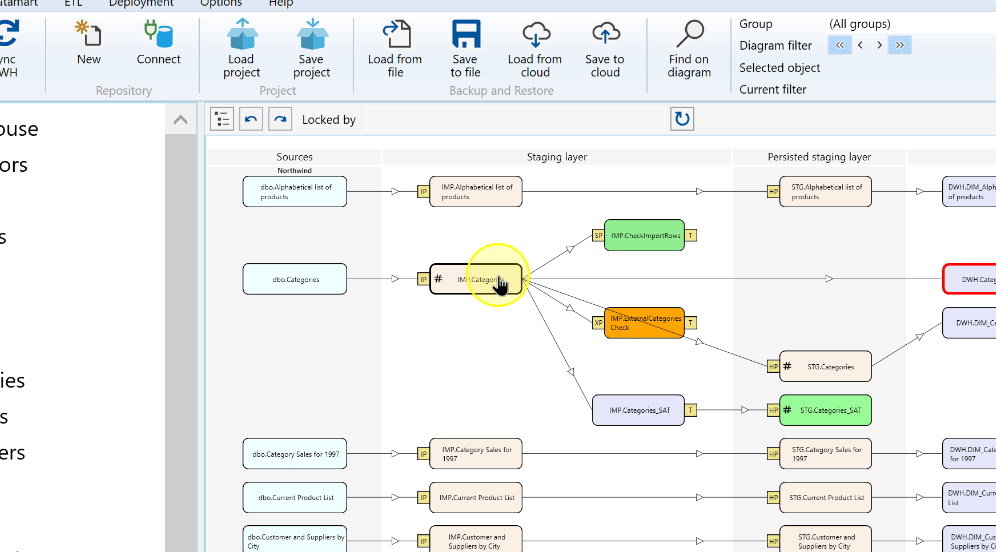
Open Add to display the creation commands.
Open the Add submenu. 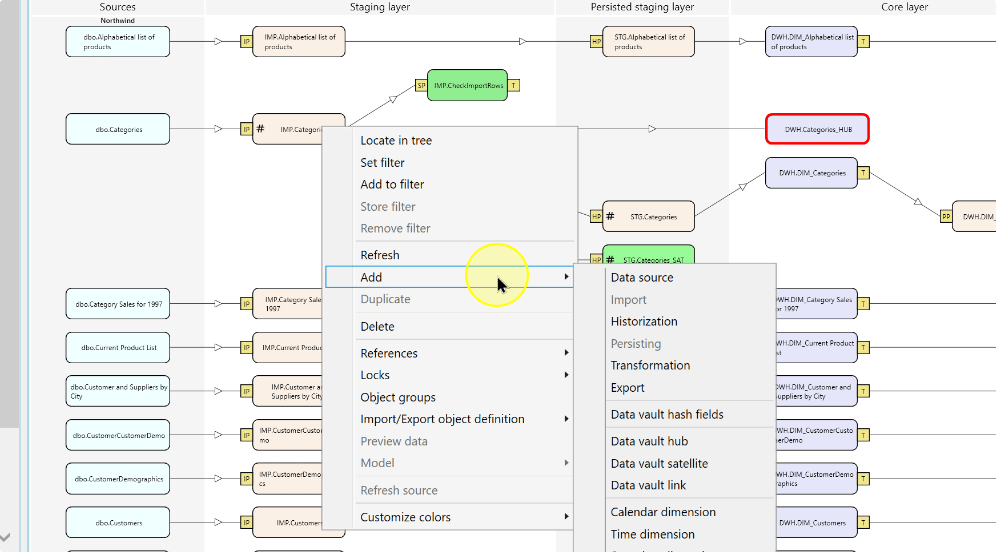
Choose Data vault link to open Vault Wizard: new link.
Choose Data vault link. 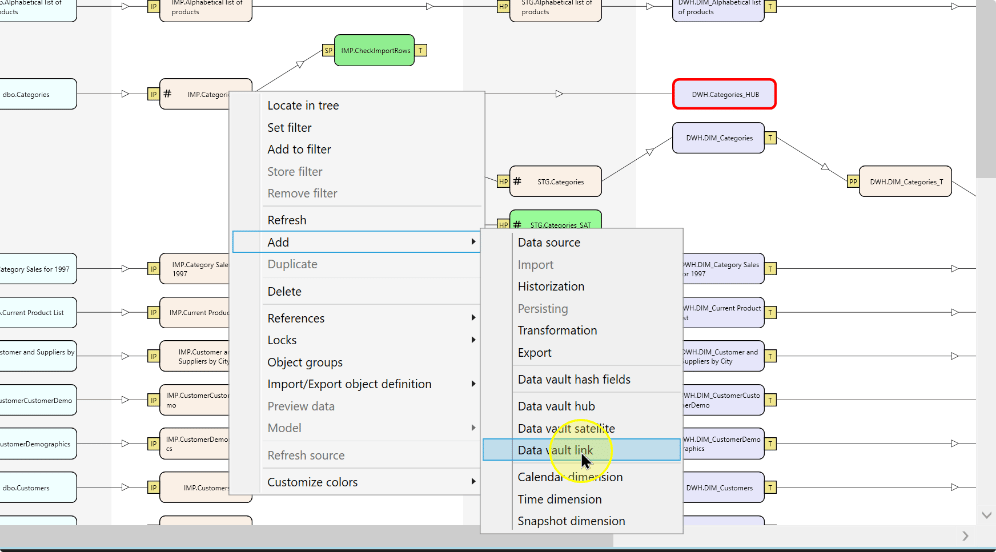
Configure the main link settings
On Main, confirm Source table. The example uses IMP.Categories.
Confirm the source table in the new-link wizard. 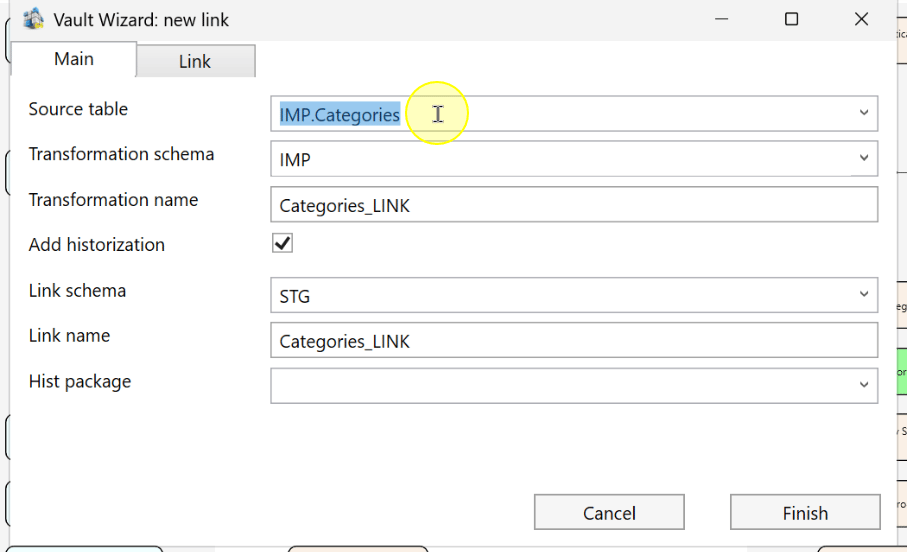
Select Transformation schema for the transformation definition. The example uses IMP.
Review the transformation schema. 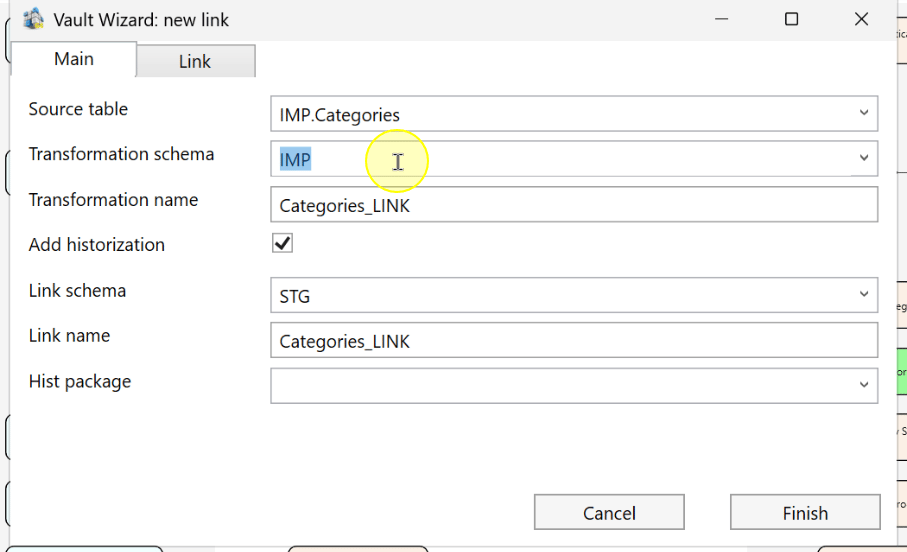
Enter or review Transformation name. The example uses Categories_LINK; check it together with the transformation schema.
Review the transformation name. 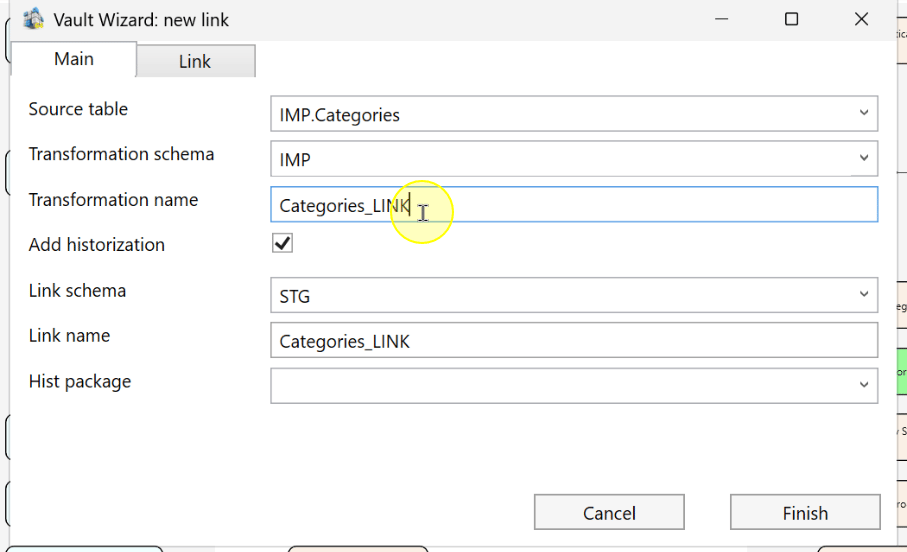
Select Link schema for the Link definition. The example uses STG.
Set the link schema. 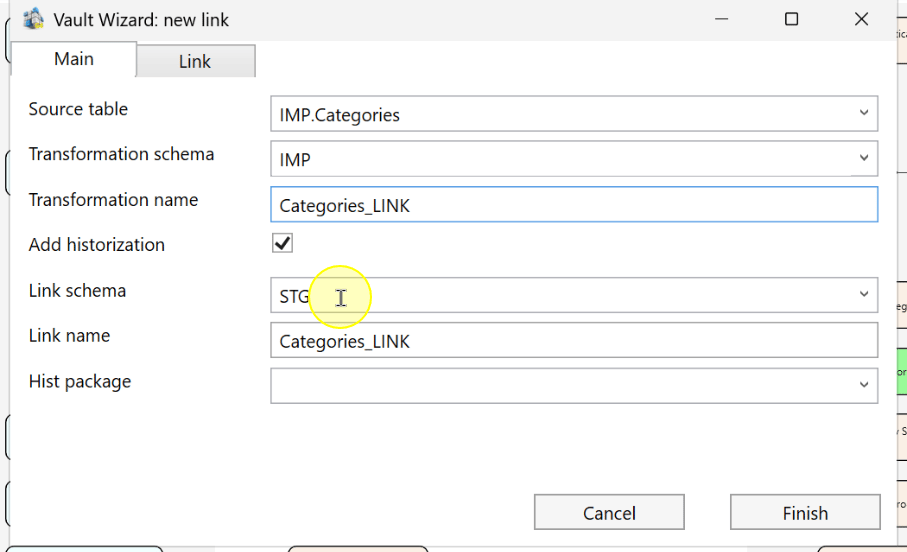
Enter or review Link name. The example uses Categories_LINK; this is a separate field from the transformation name.
Set the link name. 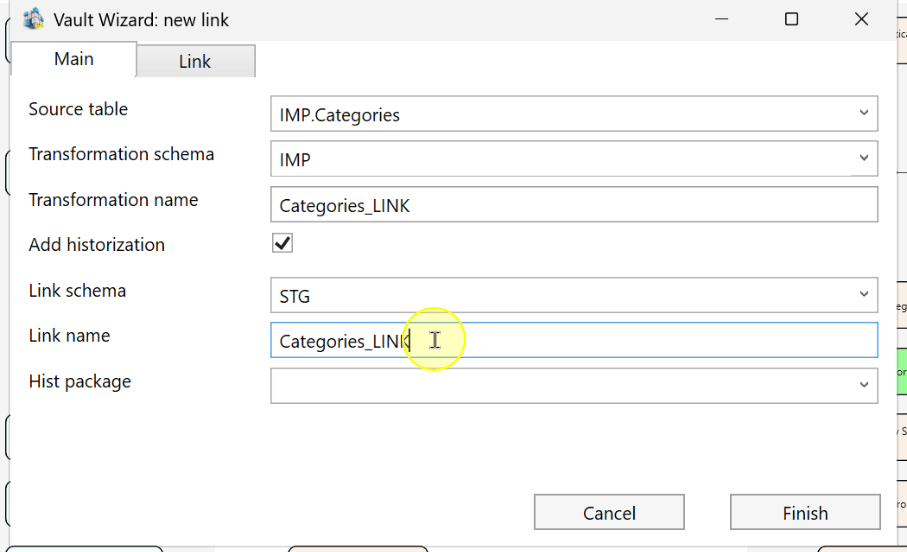
Select the required Hist package and review Add historization. The example uses the Categories package with historization selected.
Select the link package and review historization. 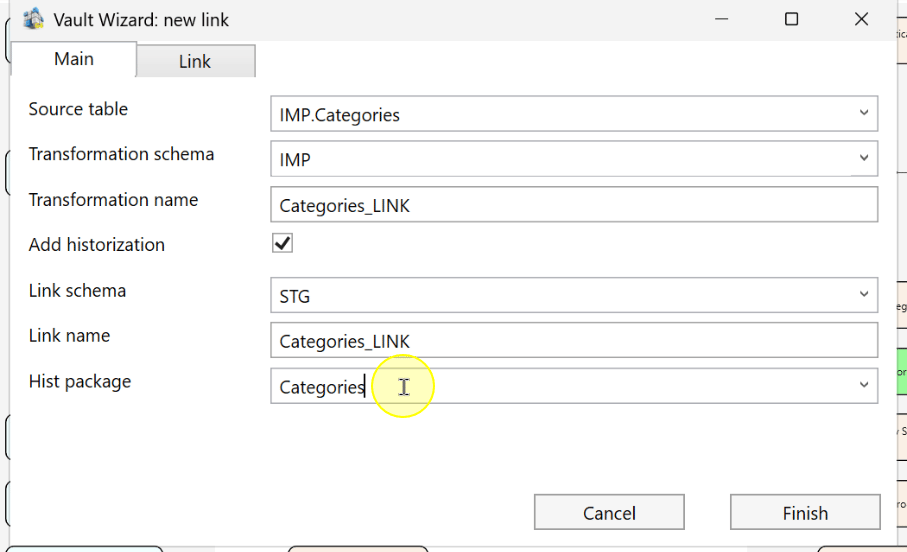
Compare the source and Main settings with the participating Hubs, hash keys and relationship grain identified for the model before moving to the Link options.
Review included tables and optional link satellite
Open the Link tab. Review the Include and Table columns and the Link Satellite controls before making the next choice.
The Link tab includes a Create LinkSat option. 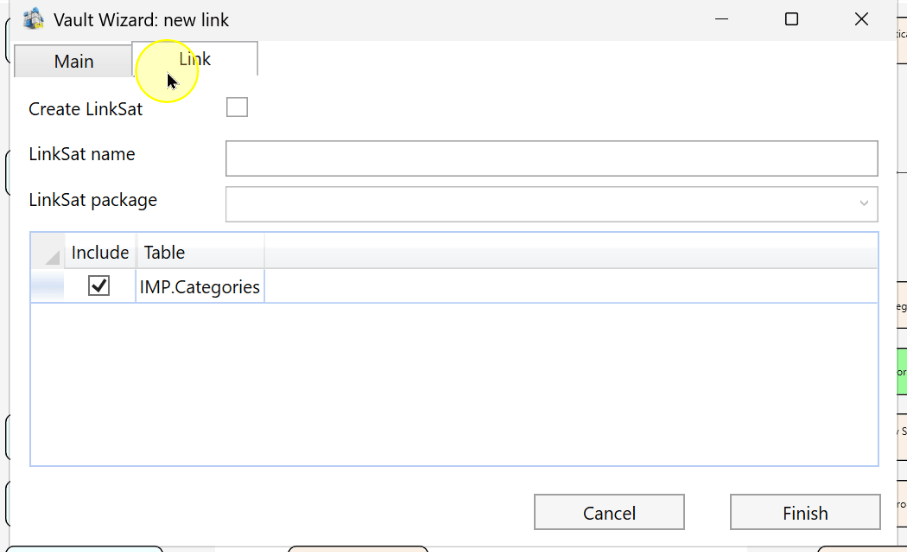
When descriptive link attributes require a Link Satellite, select Create LinkSat. Leave it cleared when the intended result is a Link without a Link Satellite.
Create LinkSat is available in the new-link wizard. 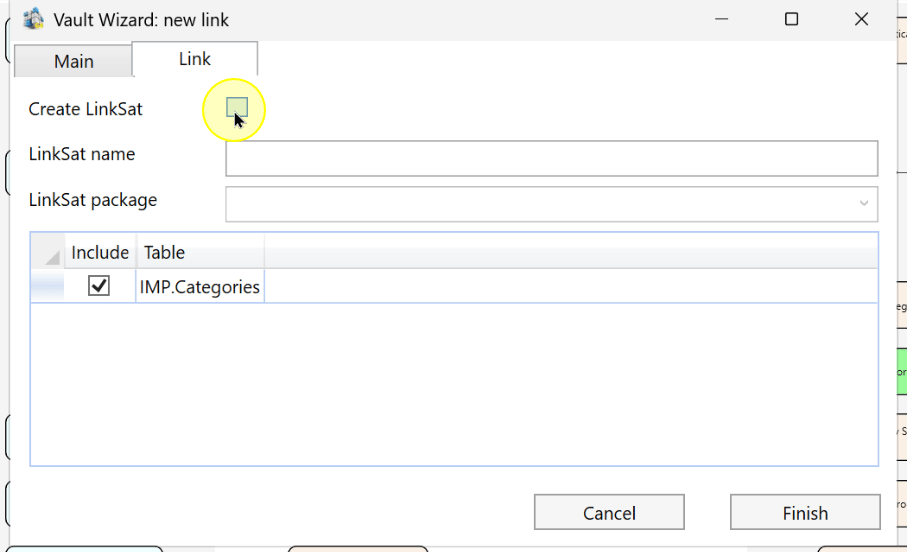
When creating a Link Satellite, enter or review LinkSat name and select LinkSat package. The example uses Categories_LINKSAT and the Categories package.
The Link tab provides LinkSat name and package controls. 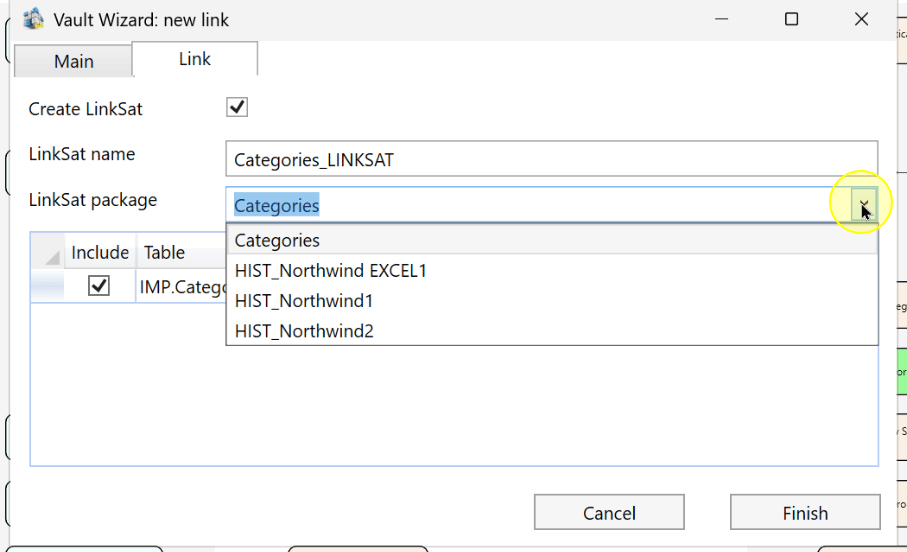
Review the table rows and select Include for the table to include in this Link configuration. The example has IMP.Categories selected. Check that the included tables agree with the intended source and relationship before finishing.
The Link tab includes a source-table selection grid. 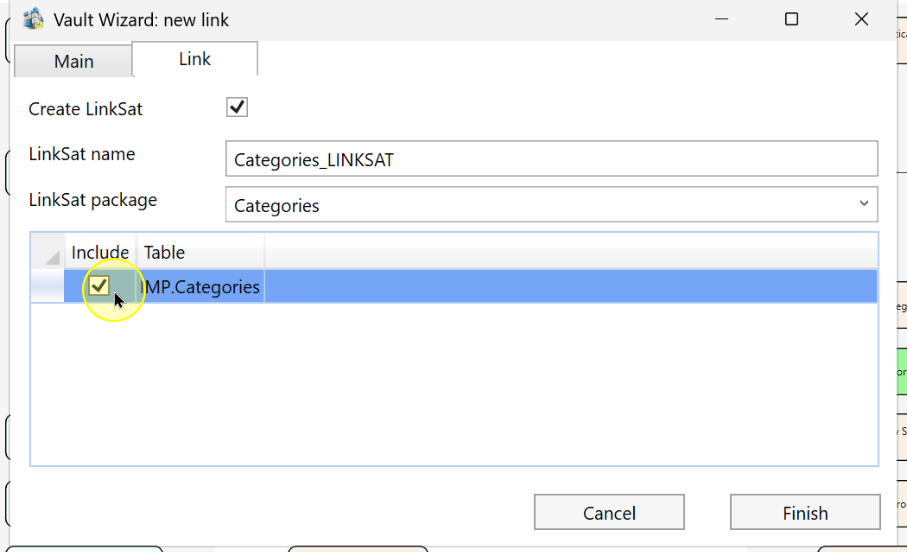
Review the Main and Link settings, then click Finish once. Inspect the generated Link and any Link Satellite, including their key relationships, using the checks in Expected Results before execution.
The new-link wizard provides Finish after LinkSat configuration. 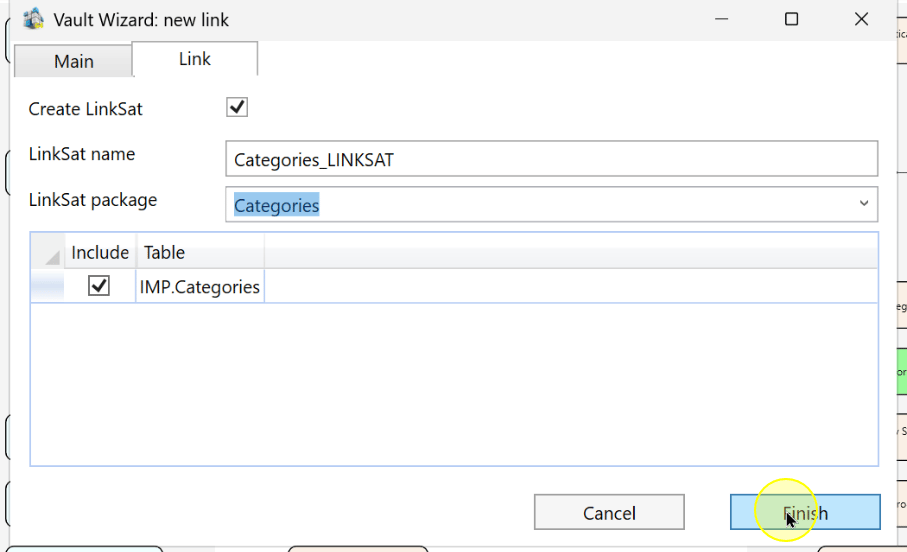
Finish is available with the source table included. 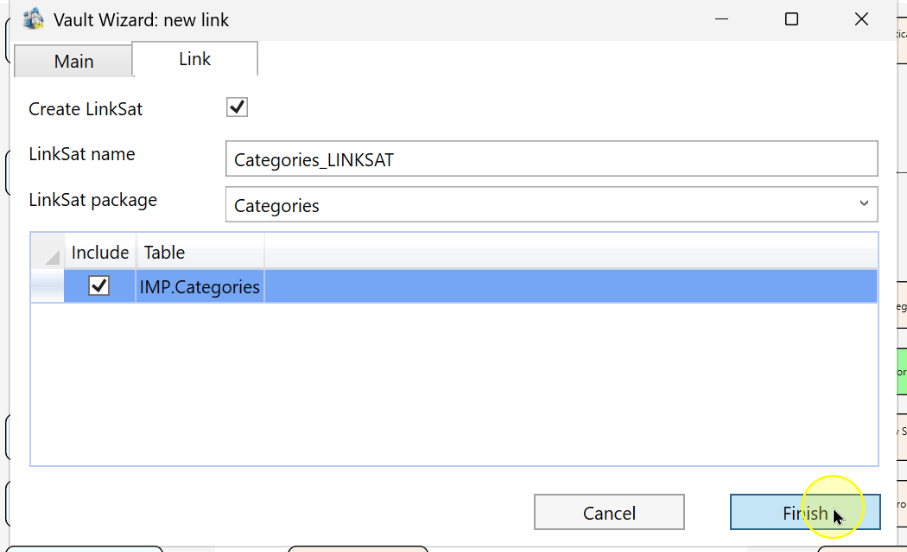
Expected Results
- Locate the created Link and compare its source, transformation identity, Link schema and Link name with the wizard values.
- Verify that the Link relates the intended Hubs; check the hash keys and relationship grain against the prepared model.
- If Create LinkSat was selected, locate the Link Satellite and compare its name, package and Link association with the intended configuration.
- Complete these definition checks before execution; finishing the wizard is not proof of a successful data load.
Decisions and variations
- Link only or Link with Satellite: configure Create LinkSat and its fields before clicking Finish. Leave it cleared when no Link Satellite is intended.
- Relationship grain: keep the intended business-key combination consistent with the selected source and included tables, then validate the resulting key relationships before execution.
Troubleshooting
- The source or included table is unexpected: compare Source table on Main with the Table rows and Include selections on Link before finishing.
- A required Link Satellite is absent from the selected configuration: review Create LinkSat, LinkSat name and LinkSat package before clicking Finish.
- The resulting key relationships differ from the model: compare the Link and any Link Satellite with the intended Hubs, hash keys and relationship grain before execution.
