
Introduction
Use DWH Wizard to prepare Data Vault objects from selected source metadata. Choose the Data Vault architecture, select and classify the sources, review naming and generation settings, then inspect the created definitions against the intended model.
Applicability
This guide follows DWH Wizard from a Connector and selects DataVault 2.0. The illustrated route uses metadata of existing sources; the wizard also offers reading metadata from the Connector.
Prerequisites
- The intended Connector and source metadata available in the project.
- The source objects, business keys and relationships identified for the Data Vault model.
- The object classifications, target schemas and package/naming choices prepared before generation.
Steps
Select the Data Vault metadata
Expand Connectors in the intended project.
Expand Connectors in the data warehouse tree. 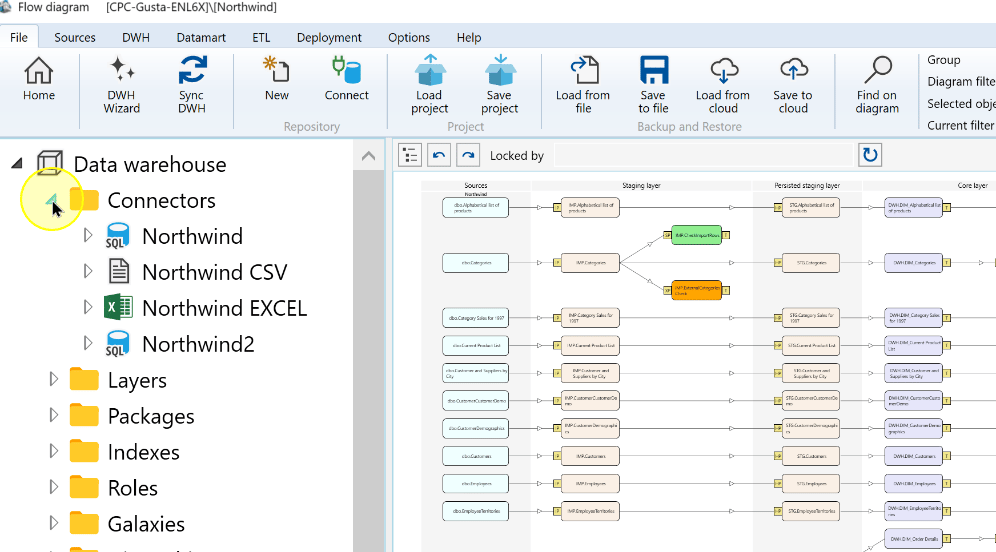
Select the required Connector and open its context menu. The example uses Northwind.
Select the connector that supplies the source metadata. 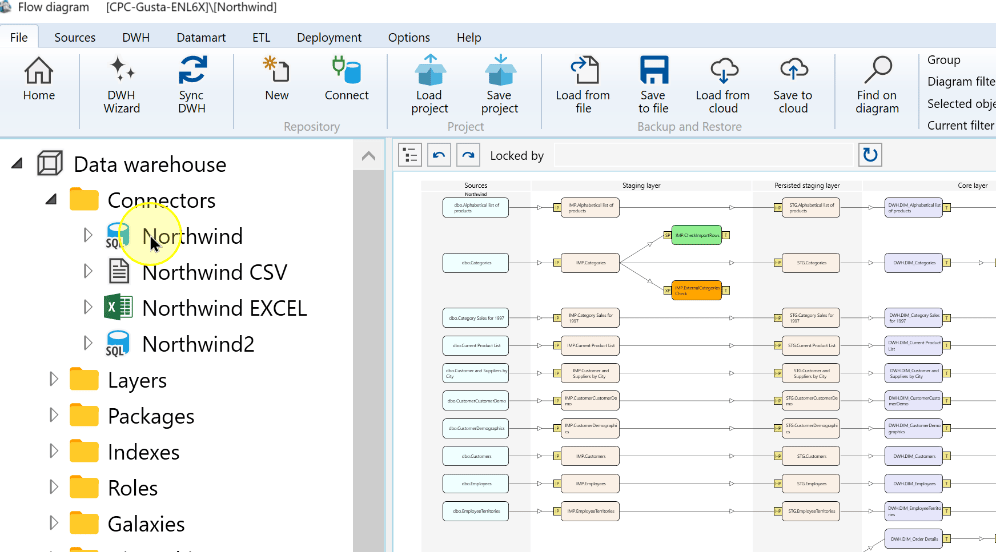
Choose DWH Wizard.
Open DWH Wizard from the connector context menu. 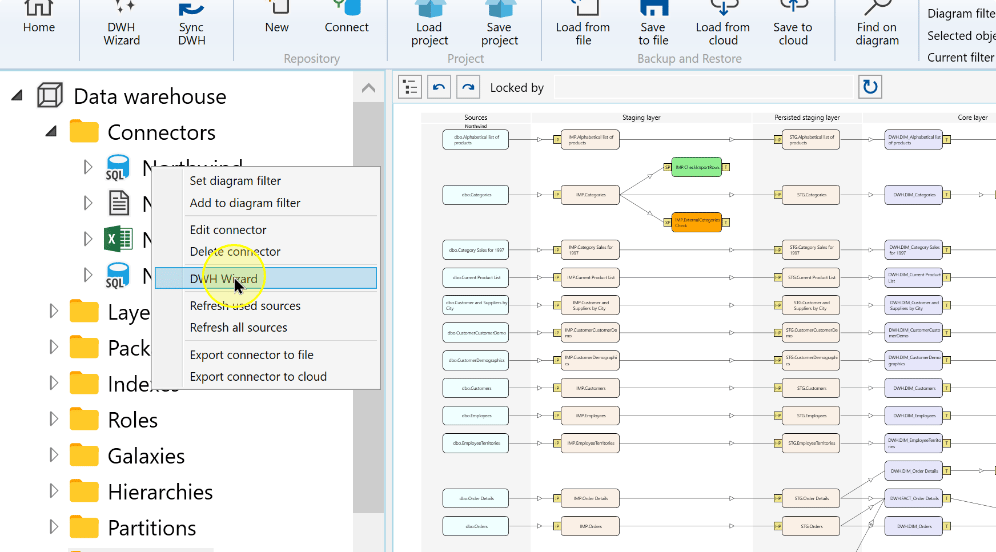
Confirm the Connector. Select Use metadata of existing sources for the prepared-source route shown here. Use Read metadata from connector when the intended task is to read that Connector's metadata.
The wizard can use metadata from existing sources. 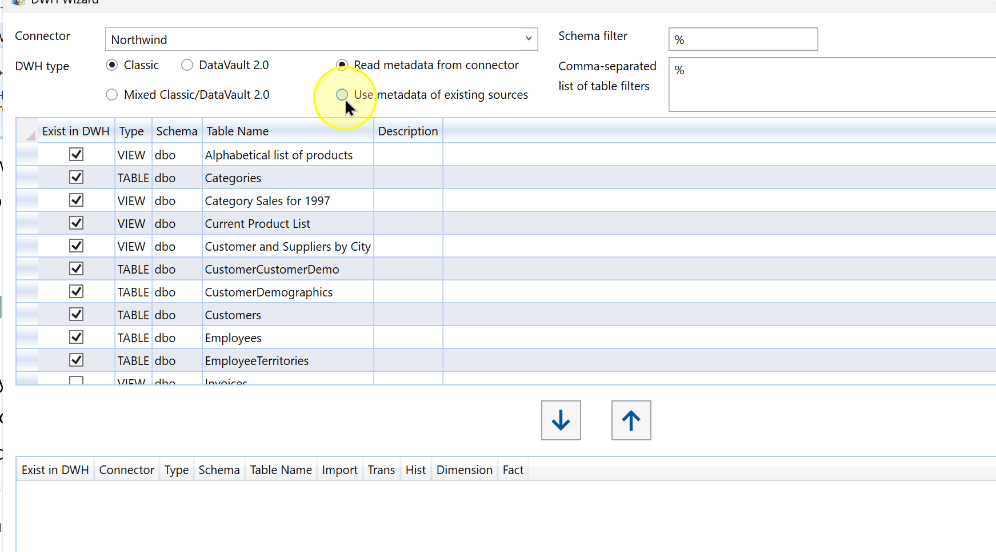
Select DataVault 2.0 as the DWH type.
The initial wizard screen offers the DataVault 2.0 mode. 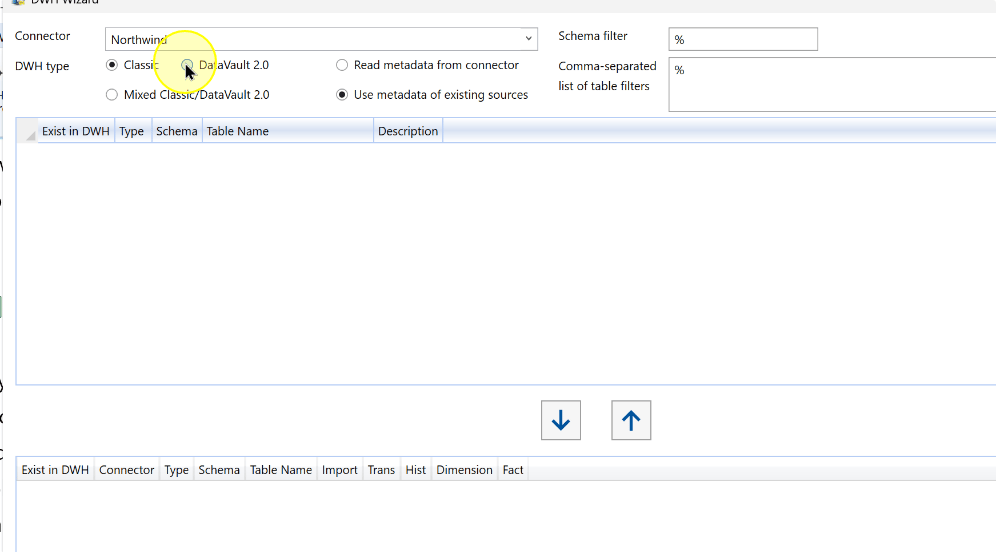
Filter and select source objects
Enter the required Schema filter to limit the metadata list to the intended schemas. The example shows
%dbo.Enter the schema filter. 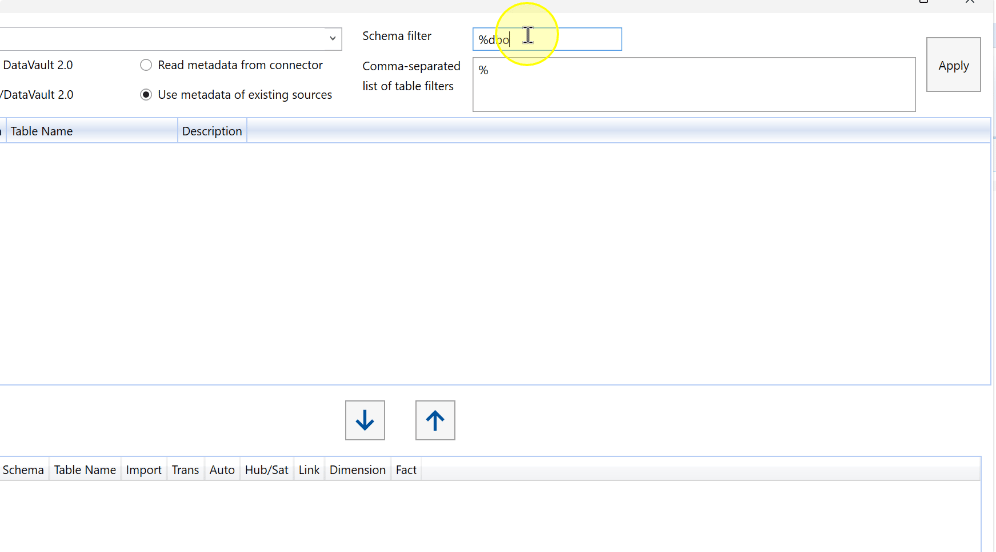
Enter the required values in Comma-separated list of table filters. The example shows
%Customers,Orders; use filters for the actual objects you need.Enter the table filters for the required objects. 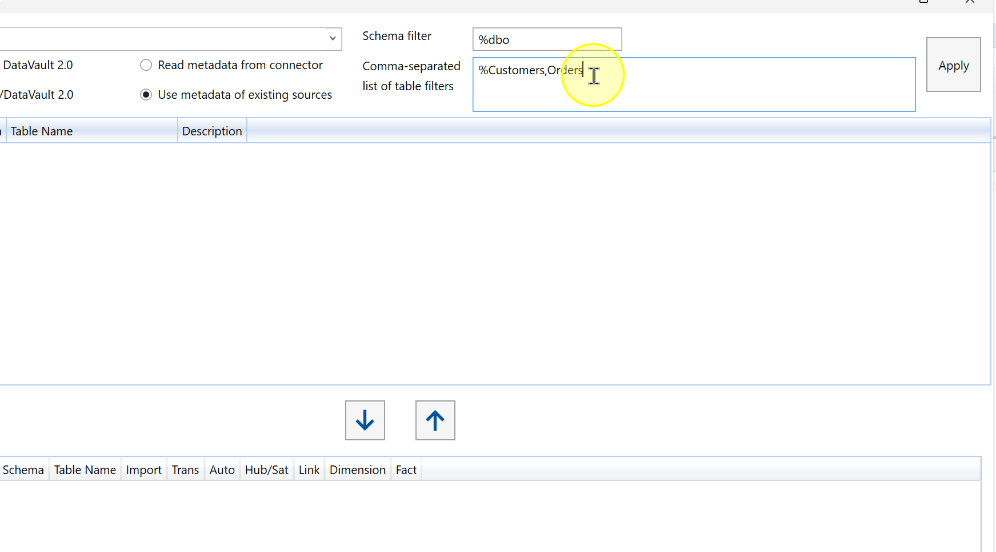
Click Apply to refresh the list using the filters.
Apply the schema and table filters. 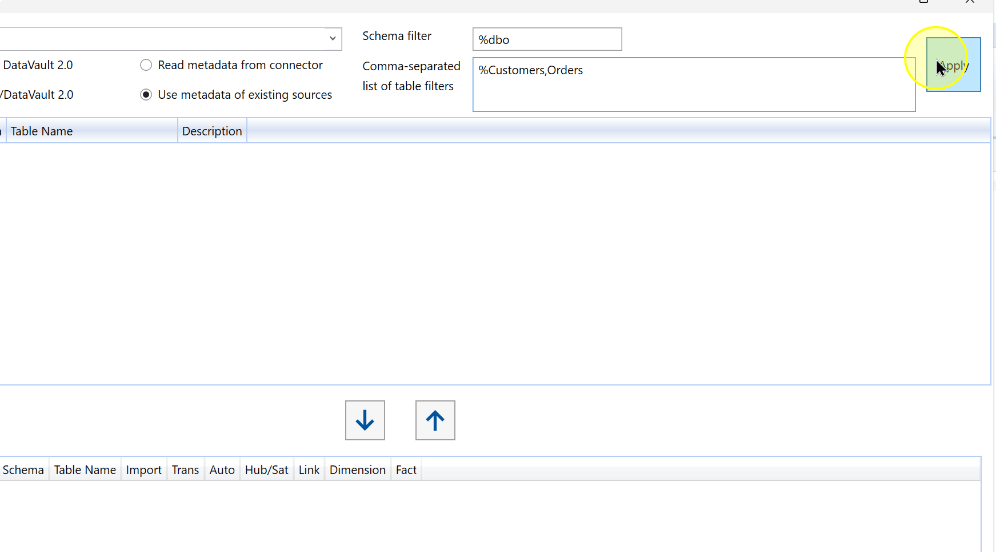
Select the required rows in the filtered source list. Check each schema and table name; the example selects dbo.Customers and dbo.Orders.
Select the filtered source objects. 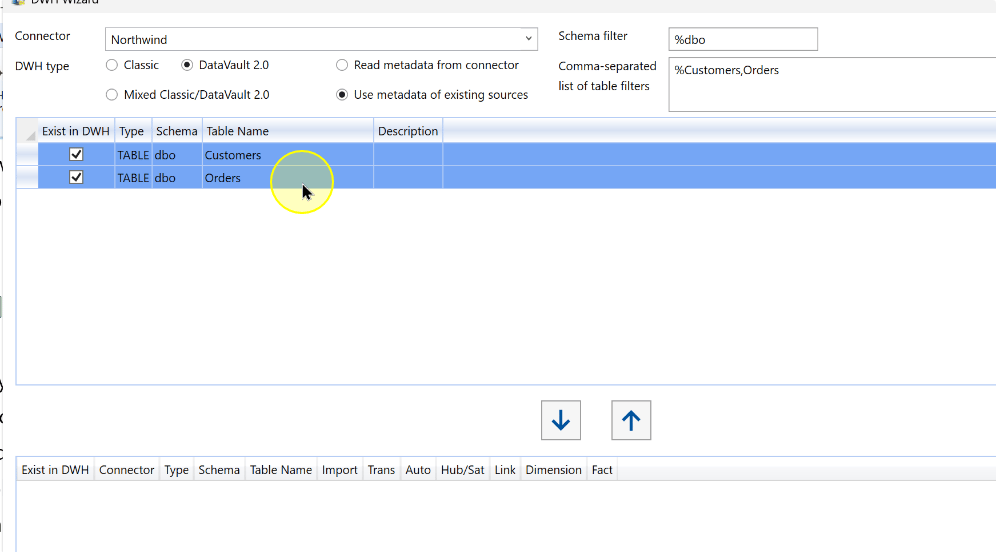
Click the down arrow to move the selected objects into the lower configuration list. Confirm that the intended source rows are present before classifying them.
Move the selected objects into the configuration list. 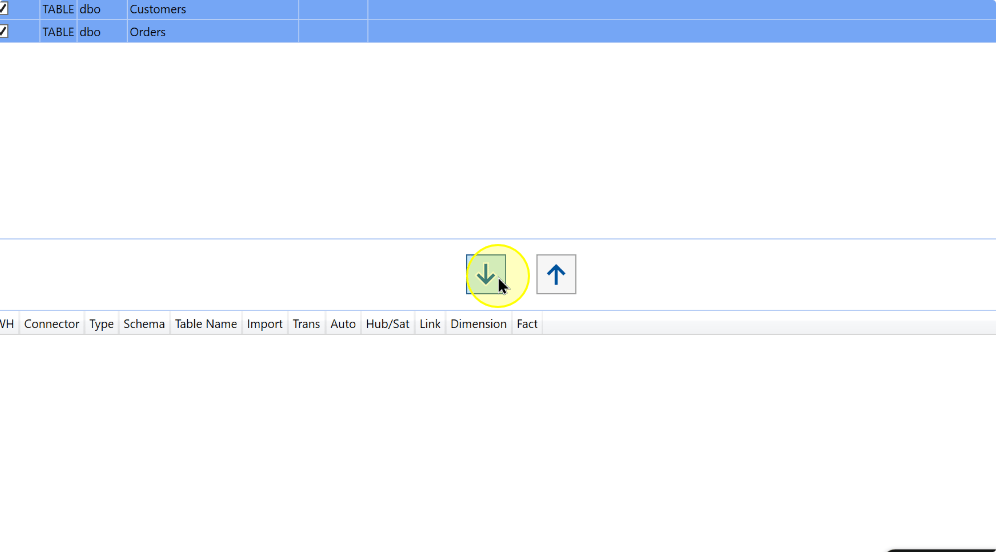
Classify the selected sources
Review each source row's Import, Trans, Auto, Hub/Sat, Link, Dimension and Fact choices. For the Data Vault classification, use the relevant choice below and check each selected row before continuing.
Setting Explanation Auto Chooses between a Hub with a Satellite and a Link. Inspect the generated object types and relationships against the intended model. Hub/Sat Explicitly creates a Hub with a Satellite for the selected source. Link Creates a Link for the selected source. DataVault 2.0 object choices, including Auto, Hub/Sat, and Link. 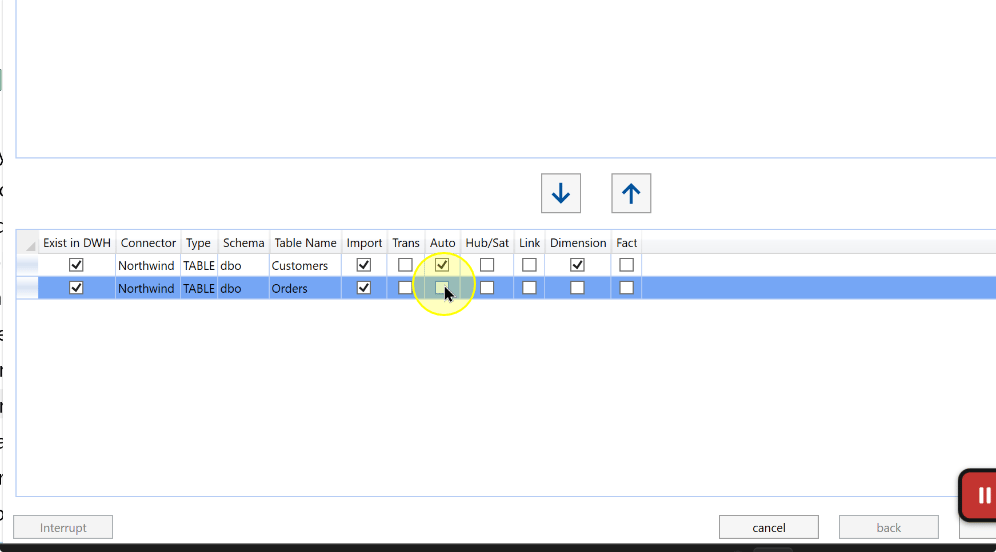
Click next after reviewing the selected objects and their classifications.
Continue after reviewing the object-generation choices. 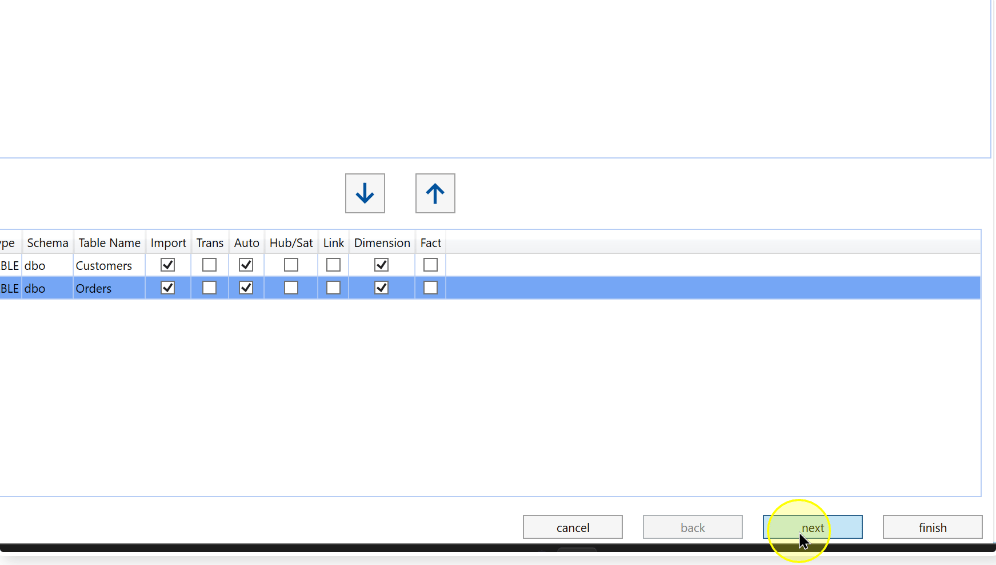
Review naming settings
Review the HUB, SAT, LINK and LINKSAT naming fields and the key-name fields. Check package names separately from transformation and table names; each identifies a different generated output. Preserve valid naming placeholders when adjusting a pattern. Naming fields do not by themselves establish business-key mappings.
Review the package, transformation, and table naming patterns. 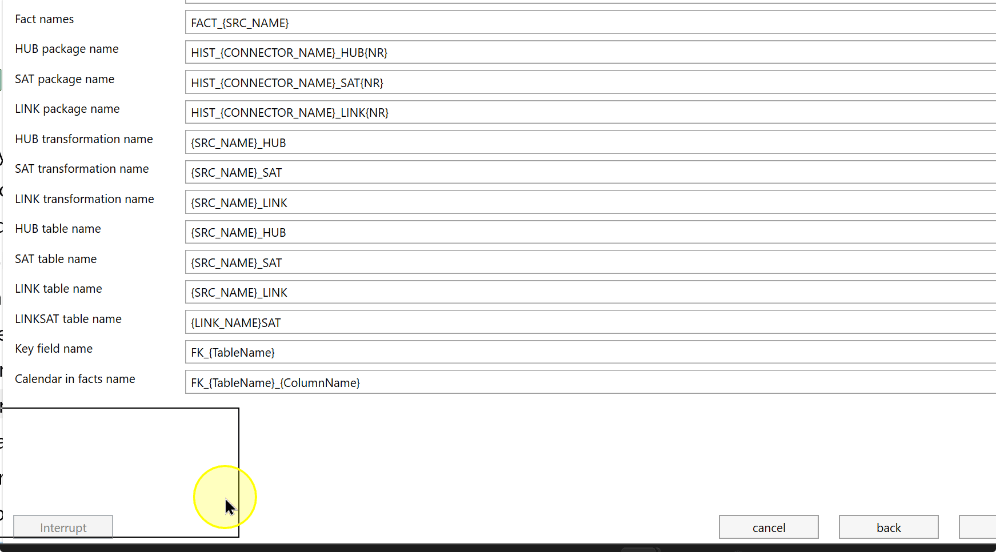
Click next after reviewing the names.
Continue from the naming page. 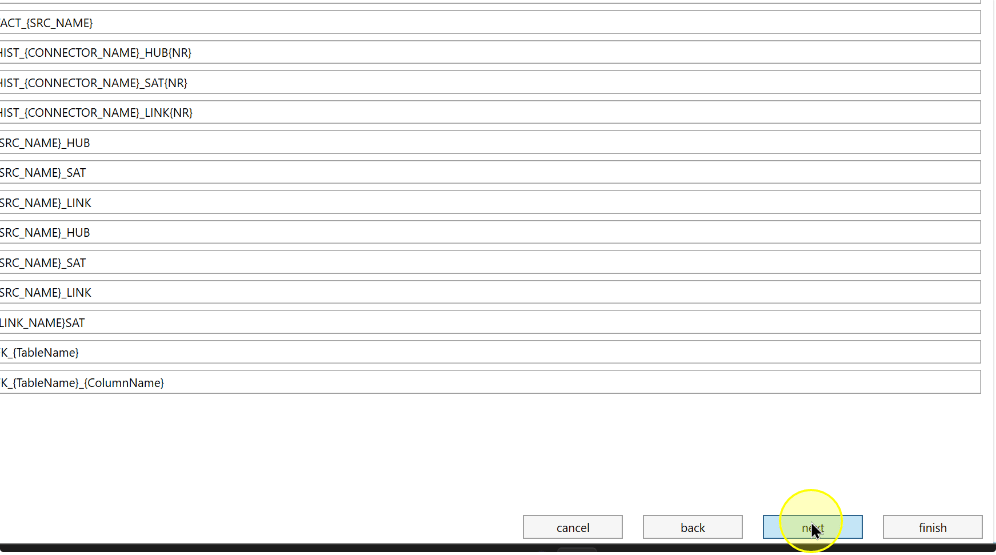
Review final options and generated objects
Review Field names appearance and the Schemas for the generated objects. The example selects No changes for field-name appearance. Check each target-schema category against the objects you selected.
Review field-name appearance and generated-object schema settings. 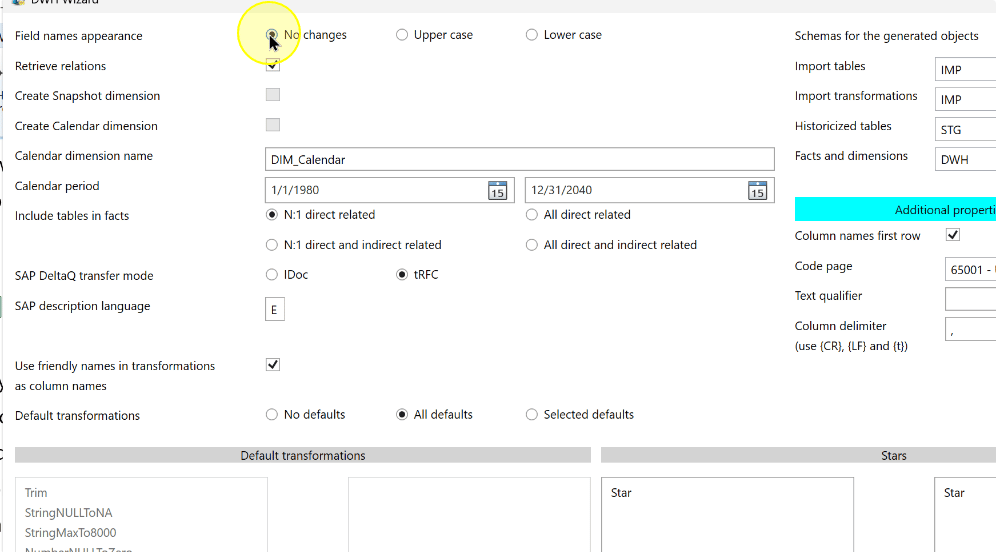
Review Retrieve relations, which reads available source relationships for the generated model setup. Check the remaining generation options against the intended model before finishing.
Review the remaining generation options before finishing. 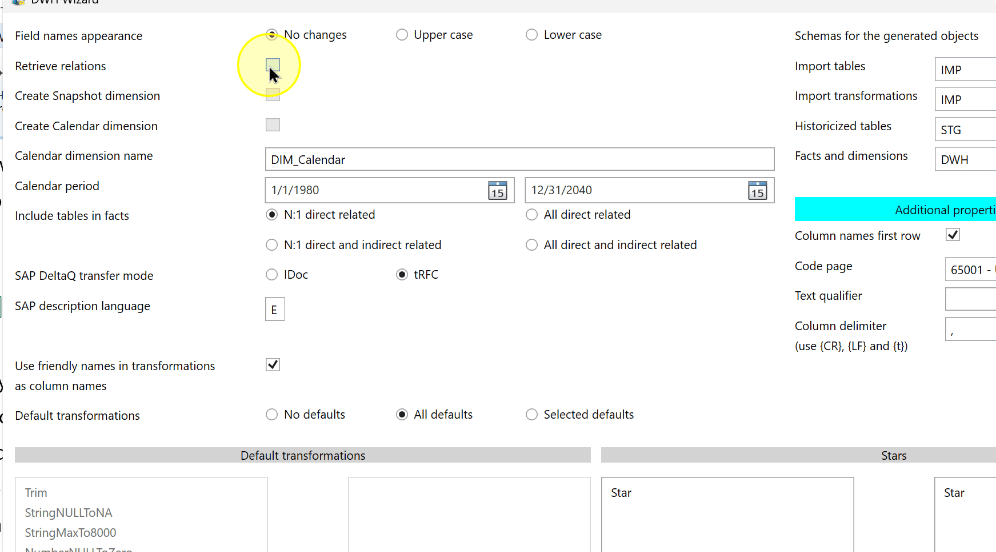
Click finish after reviewing the selected configuration. Inspect the generated objects, packages, business keys and relationships using Expected Results before execution.
Finish the DWH Wizard with the configured options. 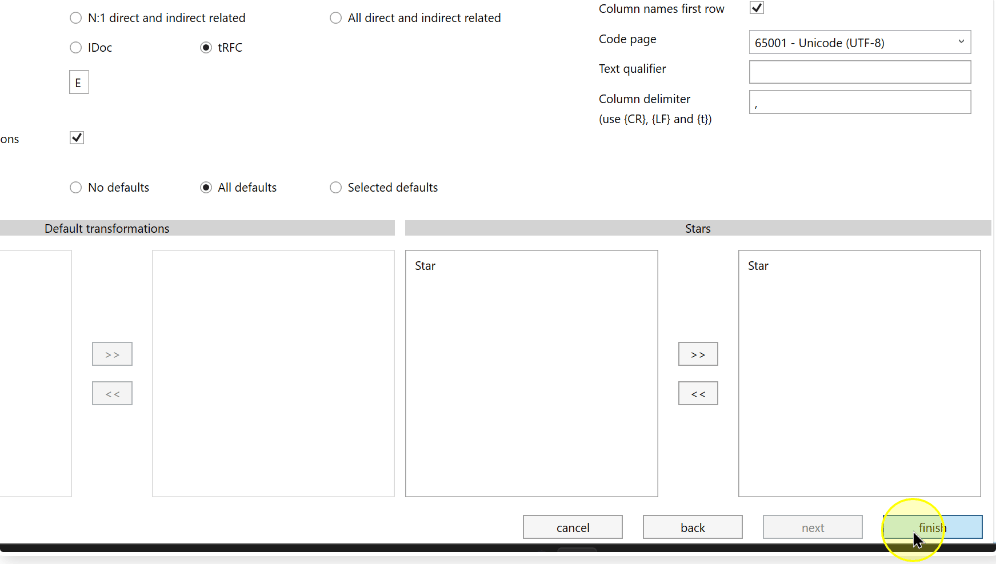
Expected Results
- Locate the generated Data Vault objects, transformations and packages. Compare their names and target schemas with the options entered.
- Check that the generated object types match the classifications chosen for the selected sources.
- Review business keys and relationships against the intended model before executing a package.
Decisions and variations
- Metadata route: select Use metadata of existing sources for the prepared-source route, or Read metadata from connector when reading the external metadata is the intended task.
- Classification: choose Auto, Hub/Sat or Link according to the intended model and inspect the generated result; naming patterns do not establish business-key mappings.
- Completing the wizard establishes generated definitions, not a successful data load.
Troubleshooting
- A required source is absent from the list: check the Connector, metadata route, schema and table filters, then click Apply and review the filtered list.
- A generated name or schema is unexpected: compare the selected source, classification, naming fields and target-schema settings with the intended model.
- Keys or relationships do not match the design: review the source metadata and selected generation options before executing the generated packages.
