
Introduction
Save the current repository to AnalyticsCreator cloud storage for later use, or load an existing cloud repository entry. Follow the save or load branch for the operation you need; each has its own starting conditions and result.
Applicability
This guide covers the Save to cloud and Load from cloud commands on the File ribbon.
Prerequisites
- For saving: open the repository you want to store and decide how to identify its cloud entry.
- For loading: identify the cloud entry to restore. Review any unsaved work in the current repository before switching repositories.
Steps
Locate the cloud controls
On the File ribbon, locate Save to cloud and Load from cloud. The commands use List repositories to name a saved entry or select an entry to load. Use the corresponding branch below.
File ribbon cloud controls and the List repositories dialog. 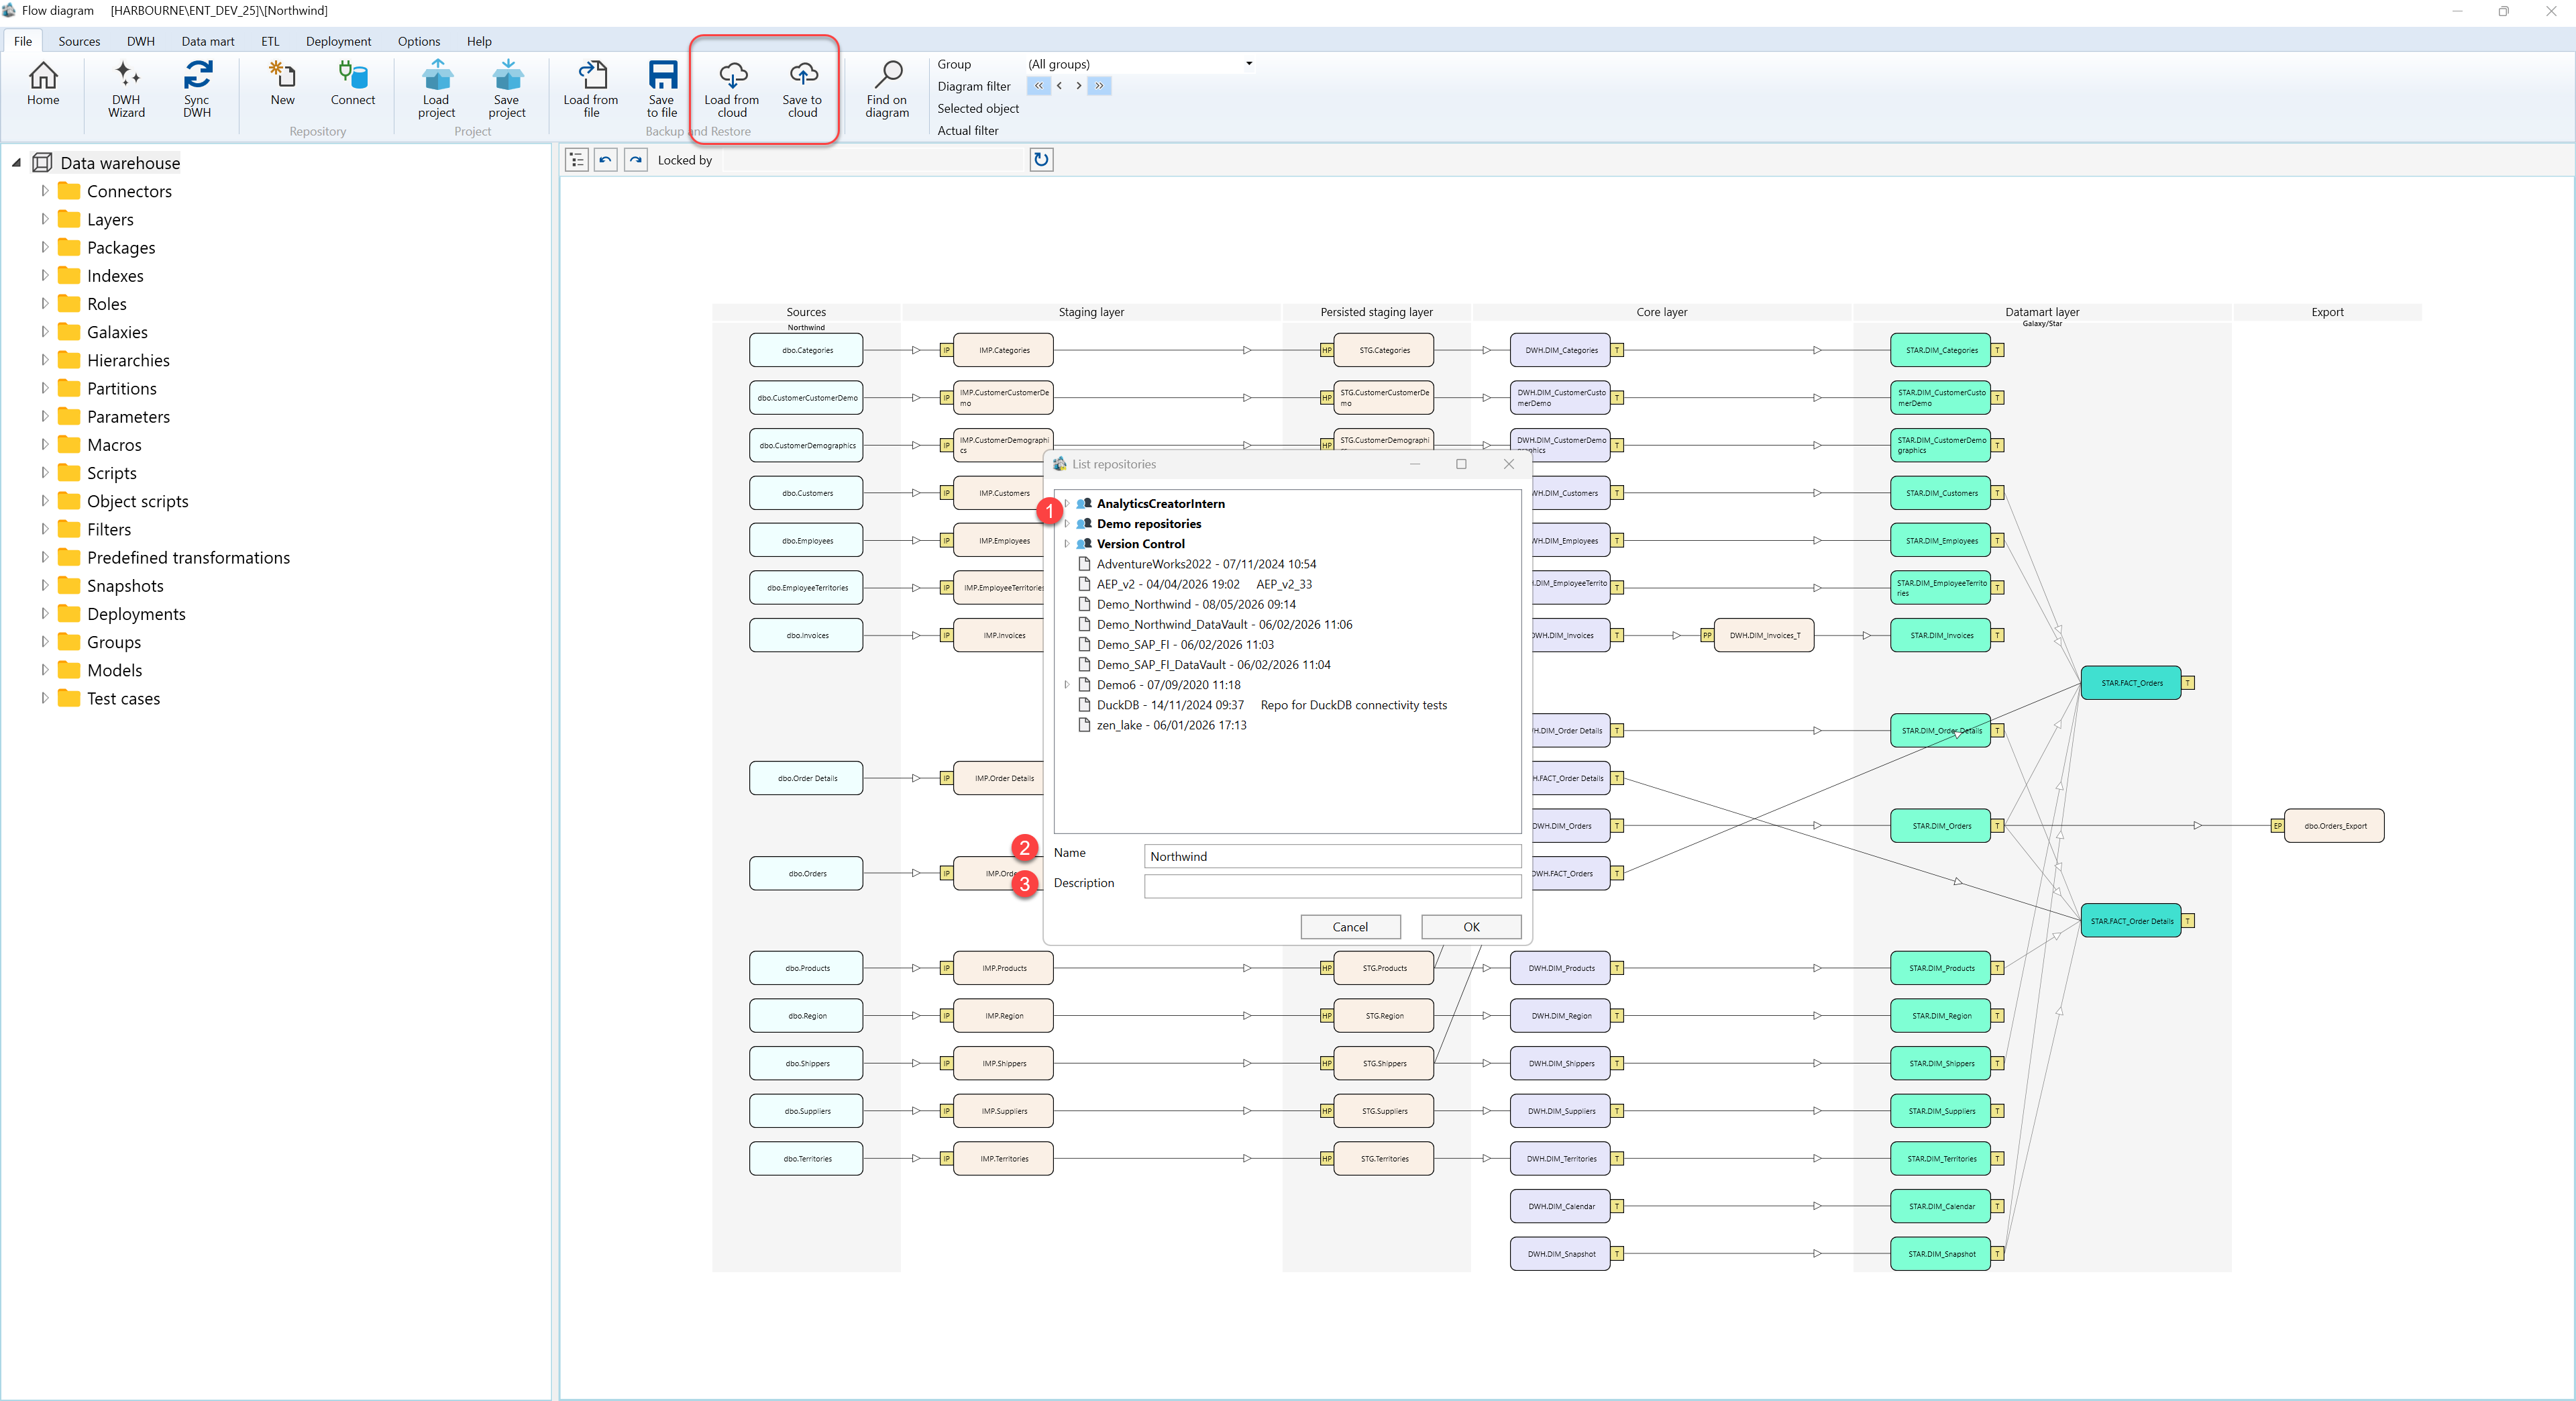
Save to cloud
With the repository you want to store open, choose File → Save to cloud.
Save workflow: the Save to cloud command on the File ribbon. 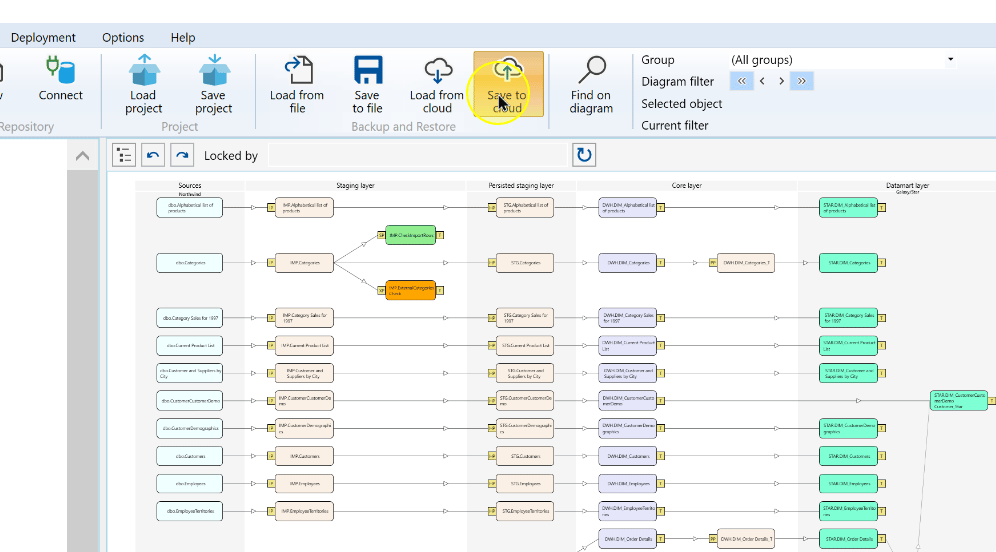
In List repositories, enter the intended repository Name. This identifies the cloud entry you will look for later. The example uses Northwind; enter the name for your repository and check the list for an existing entry with that name before confirming the save.
Save workflow: the repository Name field in List repositories. 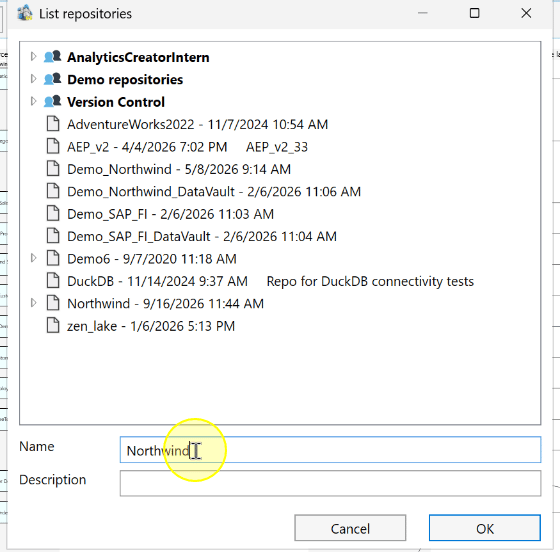
Enter a Description when additional context will help identify this saved repository. The field is optional; use it to distinguish the entry from similarly named repositories.
Save workflow: the optional Description field in List repositories. 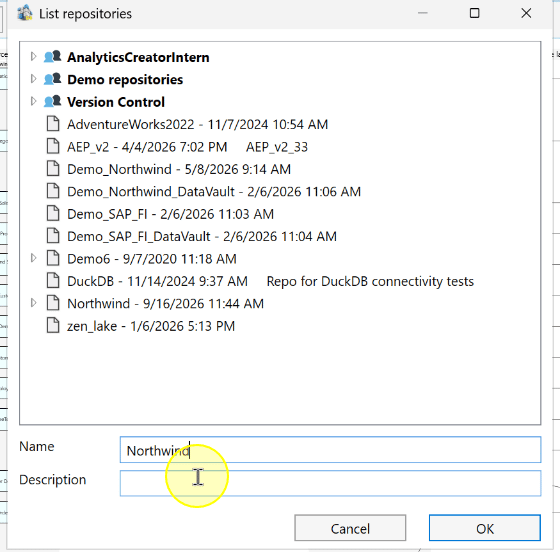
Review the Name and Description. If the entry is not the one you intend to save, click Cancel and review it before continuing. Otherwise, click OK to save, then confirm that the named entry is listed in cloud storage.
Save workflow: the OK control in List repositories. 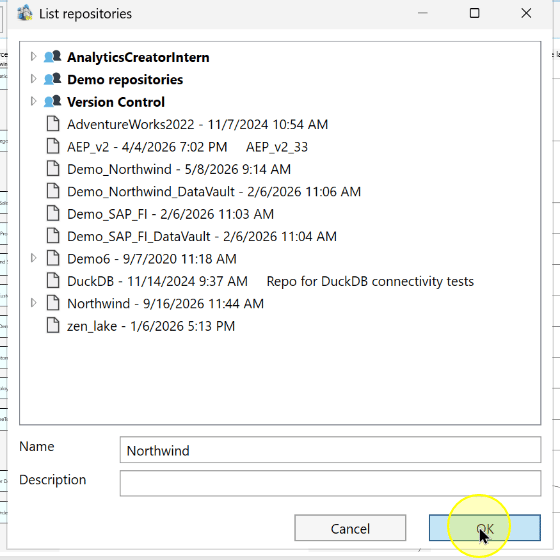
Load from cloud
Choose File → Load from cloud.
Load workflow: the Load from cloud command on the File ribbon. 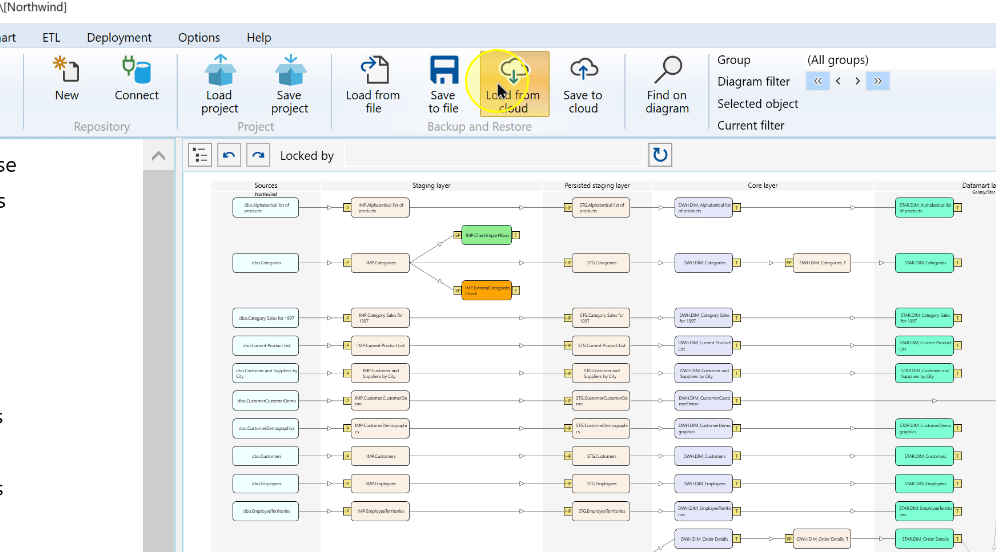
If the current repository has unsaved changes, answer the save prompt before continuing. Choose Yes to save those changes, as shown, or Cancel to stop and review them.
Load workflow: the prompt to save changes to the current repository. 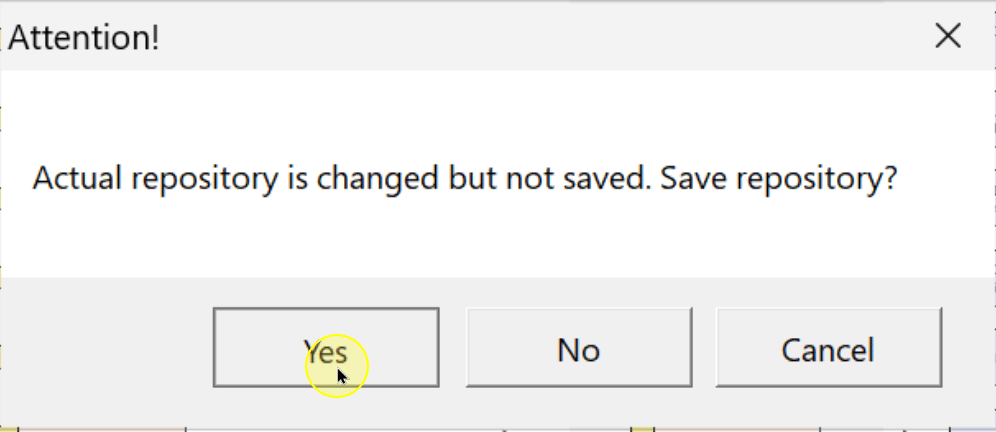
In List repositories, select the cloud entry you intend to load. Compare its name, displayed date and description, where present, with the repository you need. The example selects Northwind. If the selected entry is not correct, change the selection before continuing or click Cancel.
Load workflow: the cloud repository entry selected in List repositories. 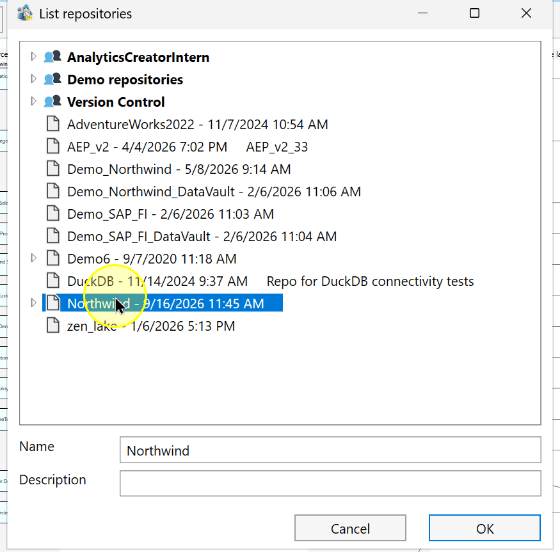
Choose OK for the selected cloud entry.
Load workflow: the OK control for the selected cloud repository. 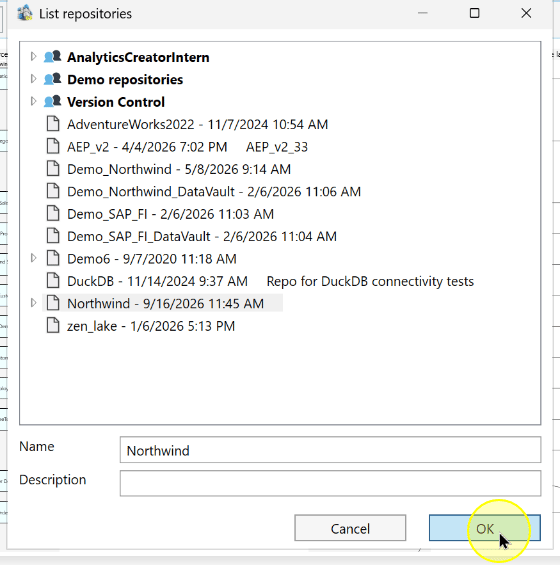
In Enter repository name, enter or confirm the intended Repository name for the loaded repository. Review this prompt separately from the cloud-entry selection: the example uses Northwind for both. Click Cancel if you need to stop and review the name.
Load workflow: the repository name confirmation dialog. 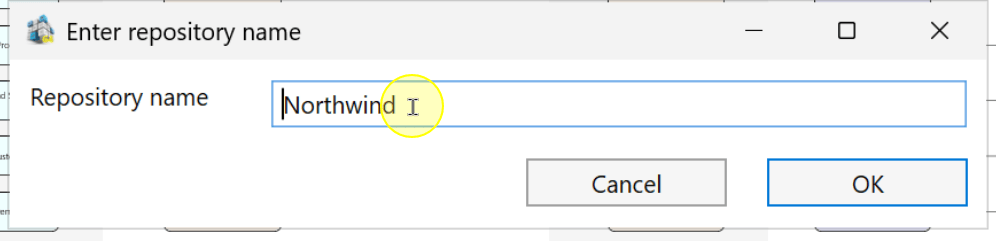
Choose OK, then confirm that the intended repository is active.
Load workflow: the OK control in the repository name confirmation dialog. 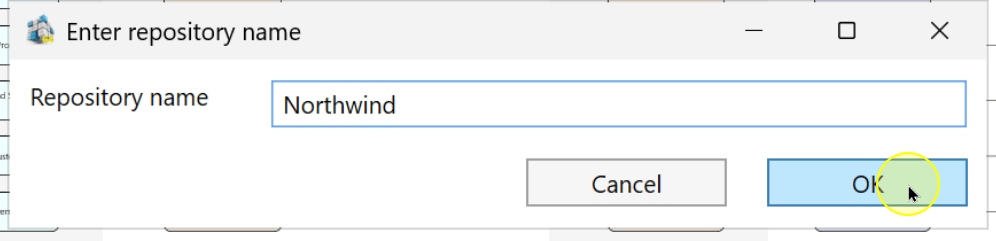
Expected Results
- After saving: the named entry is listed in cloud storage. Check that its name and description identify the repository you intended to store.
- After loading: the intended repository is active. Compare its displayed name and contents with the cloud entry you selected.
Decisions and variations
Saving stores the current repository in the cloud; loading selects an existing cloud entry and makes the loaded repository active. The save branch uses Name and optional Description; the load branch requires selecting an entry and then confirming Repository name.
Troubleshooting
- Unsaved-work prompt: choose Yes to save the current changes before continuing, or Cancel to stop and review them.
- Wrong cloud entry or repository name: stop before confirming the load. Check the selected entry and the Repository name prompt, and use Cancel if either is not the intended value.
