
Create and configure a table index
Introduction
Create an index definition for a table in your Data Warehouse (DWH) project. An index describes a database structure used to support data access or enforce a key requirement. In AnalyticsCreator, you select the table, name the index, configure compression and index settings, and specify its columns.
The outcome is a saved definition that you can reopen and compare with your intended design. Creating the physical index in the target database belongs to the project's database-generation and deployment workflow; saving this definition does not demonstrate that the index has been deployed or that queries run faster.
Screenshot examples: project names, schemas, tables, index names, selected columns, and checkbox states illustrate how to use the interface. Use the objects and settings required by your own project.
Applicability
Use this how-to to create an index definition for an existing physical table in AnalyticsCreator. The compression and index concepts described here concern Microsoft SQL Server. Supported combinations depend on the target database, its version, and the index design.
The steps follow the AnalyticsCreator desktop interface shown below. They do not establish a minimum product version or a compatibility matrix for other database platforms.
Prerequisites
3.1. An open Data Warehouse (DWH) project that you can edit.
3.2. The intended physical table and its columns already defined in the project, with the table's schema known.
3.3. An index design identifying the purpose, key columns and their order, any included columns, uniqueness or primary-key requirements, clustering, and compression. The design must account for the table's existing keys and indexes and the target database's supported settings.
3.4. The project's index naming convention and, if you intend to use default compression, the applicable table compression and Index Compression Type Deployment parameter.
Steps
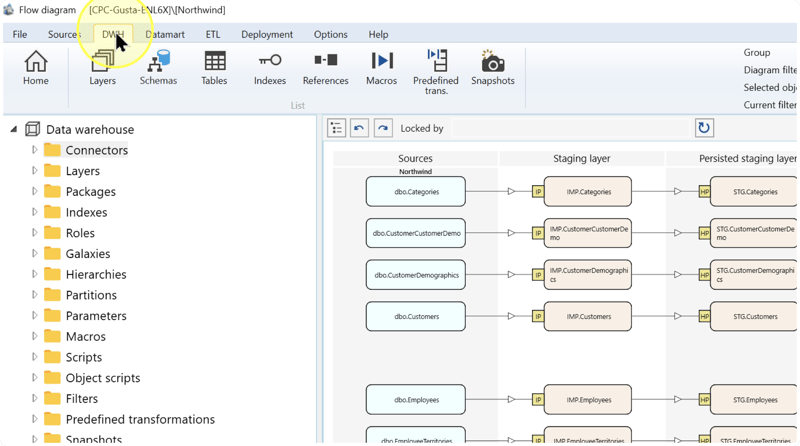
Open the DWH toolbar
In the open Data Warehouse (DWH) project, click DWH on the toolbar.
Open the index list
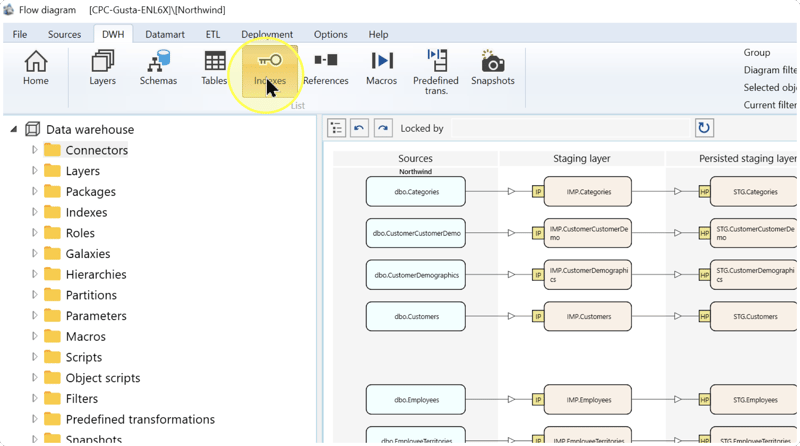
On the DWH toolbar, click Indexes to open the project's index definitions.
Create an index definition
In the index list, click New. The Index Details editor opens for a new definition.

Select the table's schema
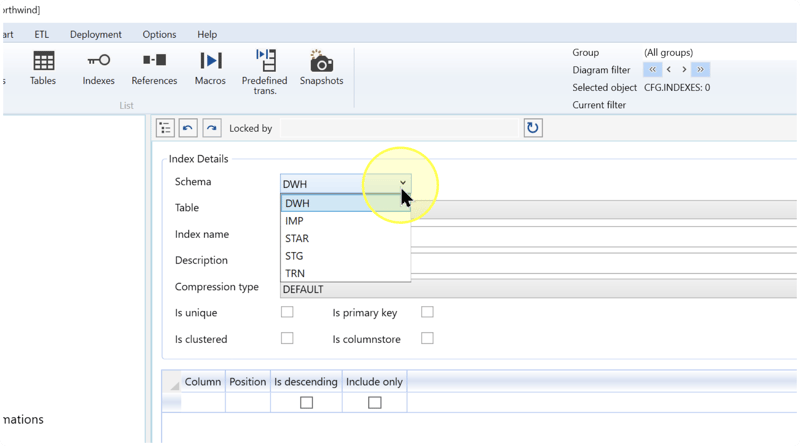
In Index Details, open the Schema list and select the schema containing your target table. A schema groups database objects under a name; this selection identifies where the table belongs.
The upper part of the editor contains the table, name, description, compression, and index settings. The grid below contains the index's column settings, which you configure in Configure index settings and columns.
Select the target table
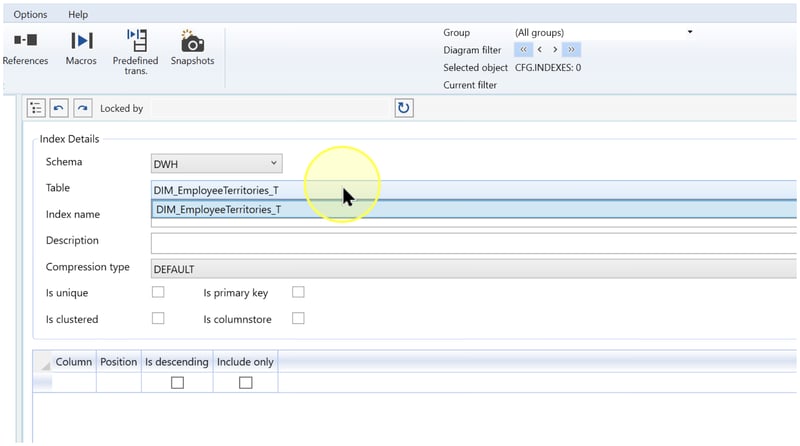
Open the Table list and select the physical table required by your index design. Confirm the combination of Schema and Table before continuing, particularly if similar table names exist in different schemas.
Name and describe the index
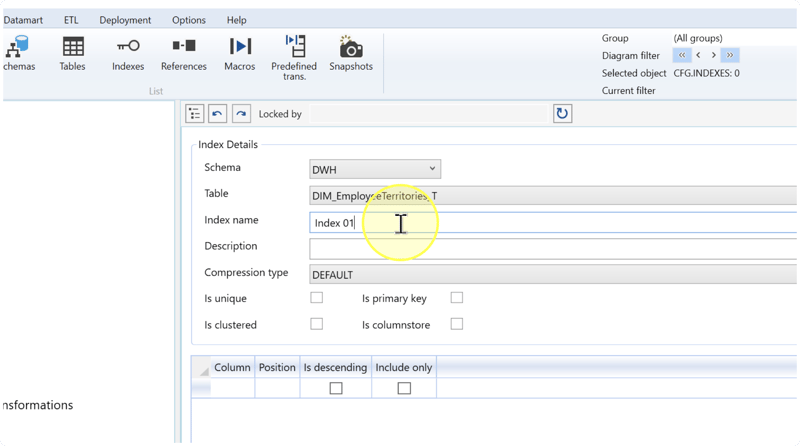
Enter the index's name in Index name, following your project naming convention. In Description, describe the lookup, sorting, or key requirement that the index serves so that another reader can understand its purpose.
Naming example: the capture uses Index 01; a later capture shows Test Index as the description. These are illustrative text values. Enter a name and description that identify your intended index.
Select compression
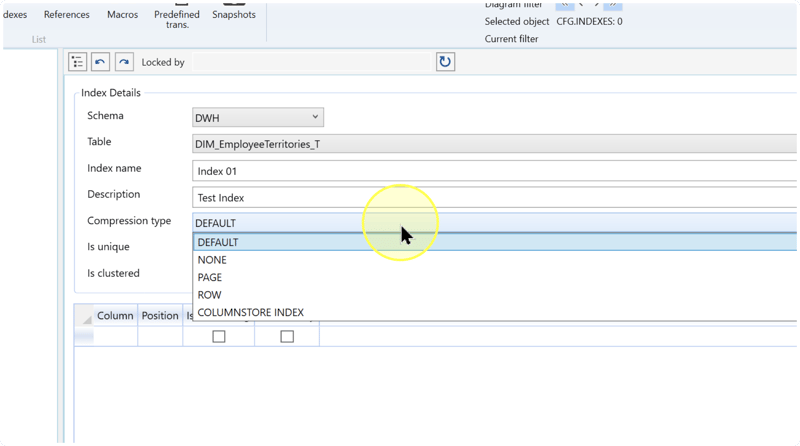
Open Compression type and select the value specified by your index design. Compression affects how index data is stored. Rowstore organizes data by row; columnstore organizes it by column. Review these choices before selecting a value:
- DEFAULT — Uses the project's default index-compression configuration. Review the table compression and the Index Compression Type Deployment parameter. That parameter sets the default for indexes when table compression is NONE or COLUMNSTORE INDEX; otherwise indexes use the table's compression type. See Index for the parameter values.
- NONE — No row or page compression. Select this when the design calls for an uncompressed rowstore index.
- PAGE — Applies row compression and reduces repeated data within a database page. Select it when page compression is specified in the design. See page compression.
- ROW — Reduces the storage needed for individual records, including how some data types are stored. Select it when row compression is specified in the design. See row compression.
- COLUMNSTORE INDEX — A columnstore-related choice in the compression list. Columnstore stores data by column and has different storage behavior from rowstore. Use this choice when specified by your columnstore design, together with the index settings described in Configure index settings and columns.
For SQL Server rowstore indexes, compression can reduce storage and disk reads while adding processing work to compress and decompress data. Choose between row and page compression using the workload's tested design. See Microsoft's data compression guidance.
The pictured selection illustrates use of the list. It does not prescribe a combination of compression, clustering, and columnstore settings for your index.
Configure index settings and columns
For a rowstore index, the key is the ordered set of columns used to locate rows. Included columns provide additional data without becoming part of that key.
4.8.1. In Index Details, select or clear Is unique, Is primary key, Is clustered, and Is columnstore to match the intended index. Use explanations A–D below to distinguish their purposes.
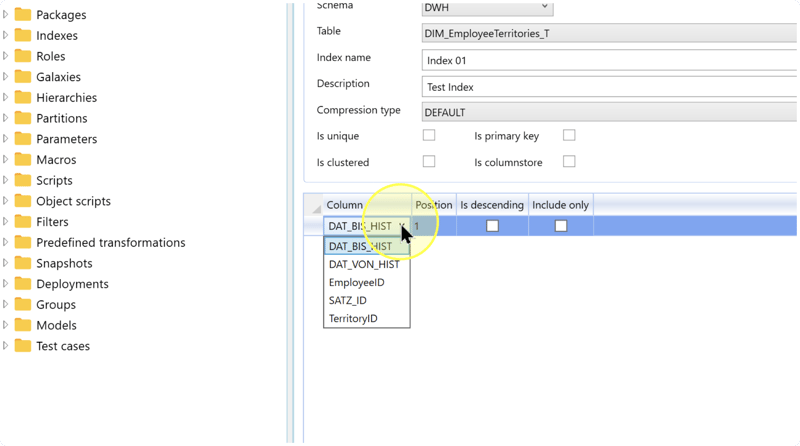
4.8.2. In the grid below, select a table column from the Column list in a new row, then enter its Position. Repeat for every column in the design. For a rowstore key, enter positions 1, 2, 3, and so on in the required key order.
4.8.3. For each rowstore key column, select Is descending when descending order is required; otherwise clear it for ascending order. For a non-key column included in a nonclustered rowstore index, select Include only; keep it clear for a key column. Use explanations E–G below to check each row.
- Is unique — Marks the index as unique. Select it when the combined key values must be unique across rows; otherwise clear it.
- Is primary key — Marks a primary-key definition. A primary key identifies each row with unique, non-null key values. Select this only when defining that table key; check the existing primary-key configuration first.
- Is clustered — Selects clustered index behavior. For a rowstore index, the table's data is stored in the clustered index structure. SQL Server allows one clustered index per table. Select it only for the intended clustered design; clear it for a nonclustered design.
- Is columnstore — Selects a columnstore design, which stores data by column and supports analytical scans. Clear it for a rowstore design. Rowstore key-order and included-column instructions do not establish columnstore behavior.
- Column / Position — Selects a column from the target table and records its position in the index definition. For a rowstore key, position determines the order of key columns; the first key column has position
1. - Is descending — Selects descending sort order for a rowstore key column. A cleared checkbox specifies ascending order. This setting does not make an included column part of the ordered key.
- Include only — Includes a non-key column in a nonclustered rowstore index. Use it for a column needed by queries without adding it to the search key. Included columns do not determine key order or uniqueness. See Microsoft's included-column guidance.
Column-order example: if your design calls for a rowstore key on EmployeeID followed by TerritoryID, assign positions 1 and 2 respectively, with Include only clear for both. Use those columns only when they exist in your target table and serve your intended index.
Check before continuing: compare the selected columns, positions, checkbox states, and compression with the complete design. For SQL Server requirements, see CREATE INDEX, primary-key constraints, and columnstore indexes.
Save and reopen the definition
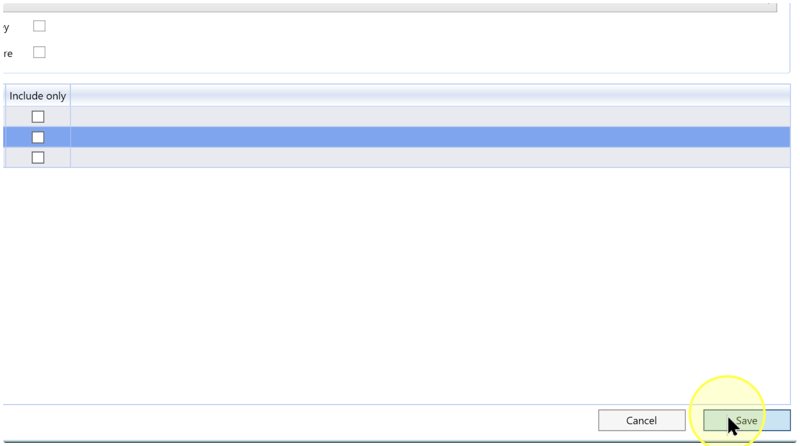
Review Schema, Table, Index name, Description, Compression type, and all index and column settings. Click Save.
To verify the saved definition, click DWH, then Indexes. Locate your index by its name and target table, and double-click its row to reopen it. Complete the checks in Expected Results.
Expected Results
The index definition is saved in the Data Warehouse (DWH) project and can be reopened from Indexes.
5.1. The reopened definition identifies the intended Schema, Table, and Index name, with a description of its purpose.
5.2. Compression type and the four index checkboxes match the intended design.
5.3. Every required column is present, with the intended Position, Is descending, and Include only settings. No unintended columns are configured.
These checks confirm the saved definition. Database generation, deployment, and workload testing are separate tasks; this workflow does not verify the physical index or a performance improvement.
Decisions and variations
Choose the index's purpose and structure
A lookup index, a unique index, and a primary-key definition serve different requirements. Rowstore and columnstore also have different storage and query uses. Make these decisions before saving, using the explanations in Configure index settings and columns; a pictured date or integer column is not automatically a suitable key.
Use default or explicit compression
Choose DEFAULT when the project configuration should determine compression. Choose an explicit compression value when it is required by the index design. Review the conditions in Select compression and the parameter in Index.
Change an existing definition
If the required index definition already exists, open DWH → Indexes and double-click its row. Review and change its settings as described in Select the table's schema, then save and reopen it. Use New when creating a separate definition.
Troubleshooting
- Required object is missing — Confirm that the correct Data Warehouse (DWH) project is open. For a missing table, check Schema; for a missing column, check Table. Compare these selections with the table definition before choosing another object.
- Save is unavailable or fails — Review the selected table, index name, and configured column rows for missing or unintended values. If AnalyticsCreator displays a validation message, check the named setting and correct the definition. If the cause remains unclear, retain the message and the attempted configuration when requesting support.
- Saved definition differs from the intended result — Confirm that you reopened the correct index and table. Compare the settings with the design, correct the differing values, click Save, and reopen the definition again. Verify changes to the physical database separately through the deployment workflow.
