
Introduction
Create a Satellite from its source table using Vault Wizard: new satellite. Set the transformation and Satellite names and schemas, review historization and finish the wizard. A Satellite holds descriptive or historical attributes associated with a parent Hub or Link; check the created definition against the intended model before execution.
Applicability
This guide follows the source-table context-menu route: Add > Data vault satellite. Start from the table supplying the Satellite attributes. The wizard's Main tab contains the source, naming and historization fields used here.
Prerequisites
- An open Data Warehouse (DWH) project containing the source table and the intended parent Hub or Link.
- The parent hash key and Satellite attributes identified for the intended model.
- The transformation and Satellite schemas and names, plus the historization package and choice required by that model.
Steps
Open the new-satellite wizard from the source table
On the flow diagram, locate the source table supplying the Satellite attributes and open its context menu. The example starts from IMP.Categories.
The capture starts from the source table on the flow diagram. 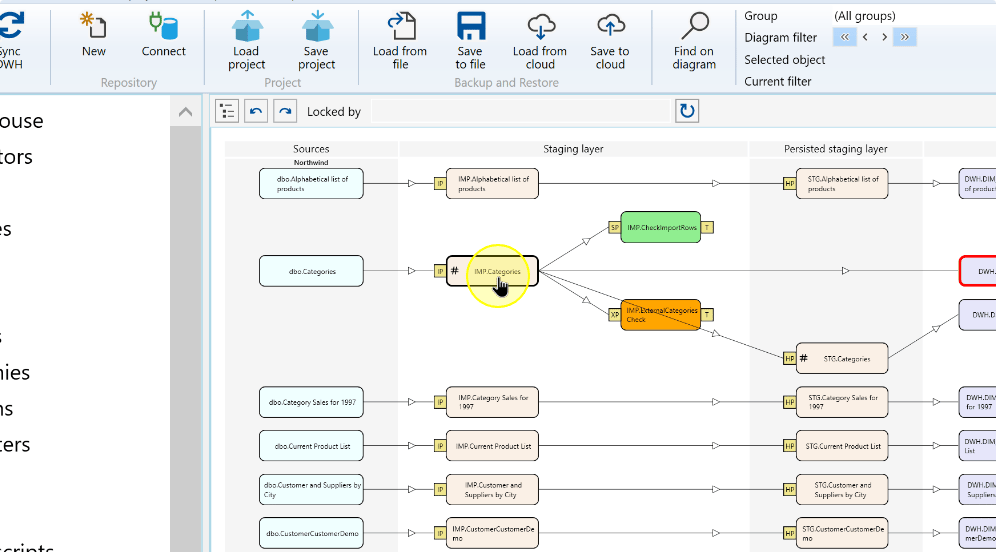
The source-table context menu is open. 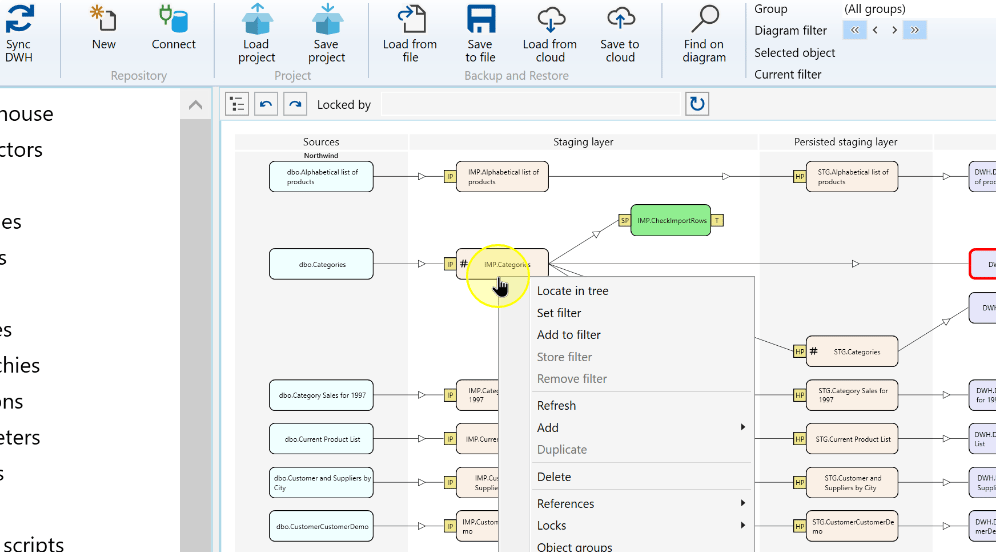
Open Add to display the available creation commands.
The source-table Add submenu includes Data Vault commands. 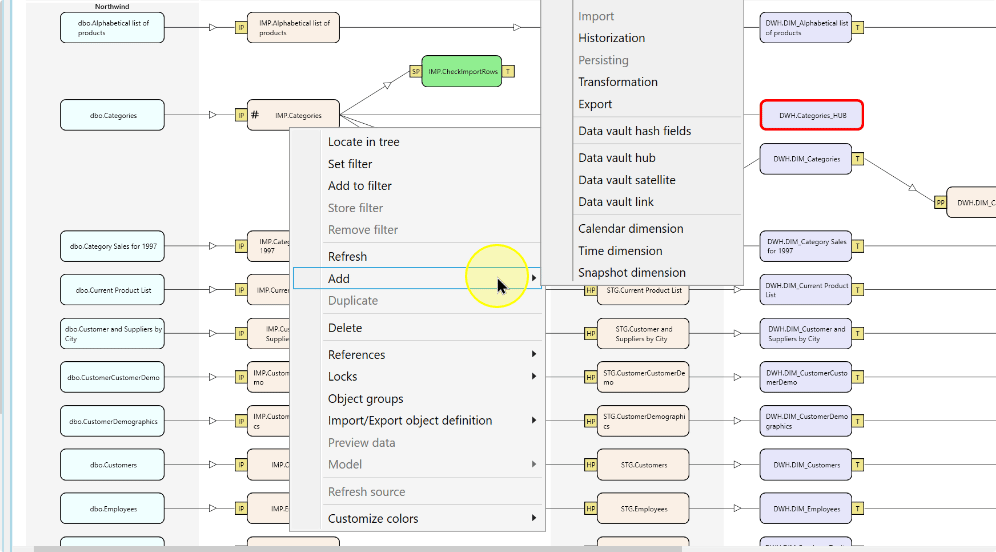
Choose Data vault satellite to open Vault Wizard: new satellite.
The source-table menu offers Data vault satellite. 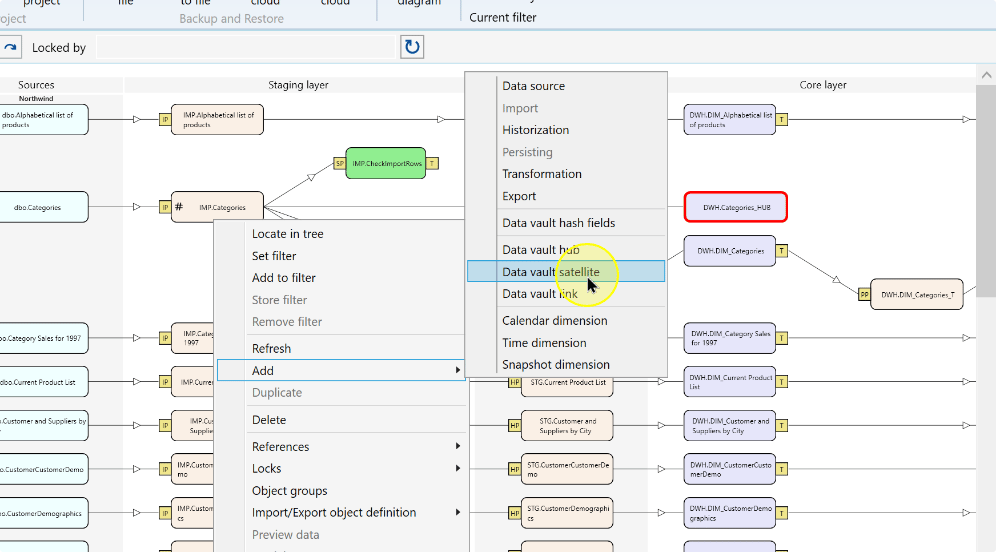
Set the source and transformation fields
Review the fields by their role before confirming the values. The transformation and Satellite have separate schema and name fields, even when their names are the same.
| Setting | Explanation |
|---|---|
| Source table | The input supplying the Satellite attributes. Confirm its schema and name against the table selected on the diagram. |
| Transformation schema / Transformation name | Identify the transformation definition to create. Review both values together so that its identity matches the intended model. |
| Satellite schema / Satellite name | Identify the Satellite separately from the transformation. Check both fields even when the two objects share a name. |
| Add historization | The historization choice for this wizard operation. Review it against the prepared Satellite design; it is selected in the example. |
| Hist package | The package selected for Satellite historization. Check it with the historization choice before finishing. |
On Main, confirm Source table. The example uses IMP.Categories, matching the source selected on the diagram.
Confirm the source table in the new-satellite wizard. 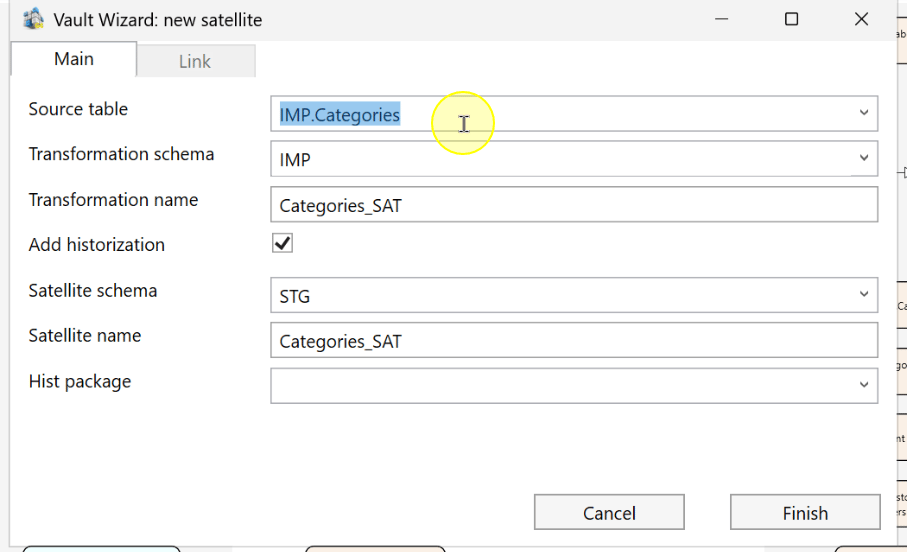
Select Transformation schema for the transformation definition. The example uses IMP.
Review the transformation schema for the satellite. 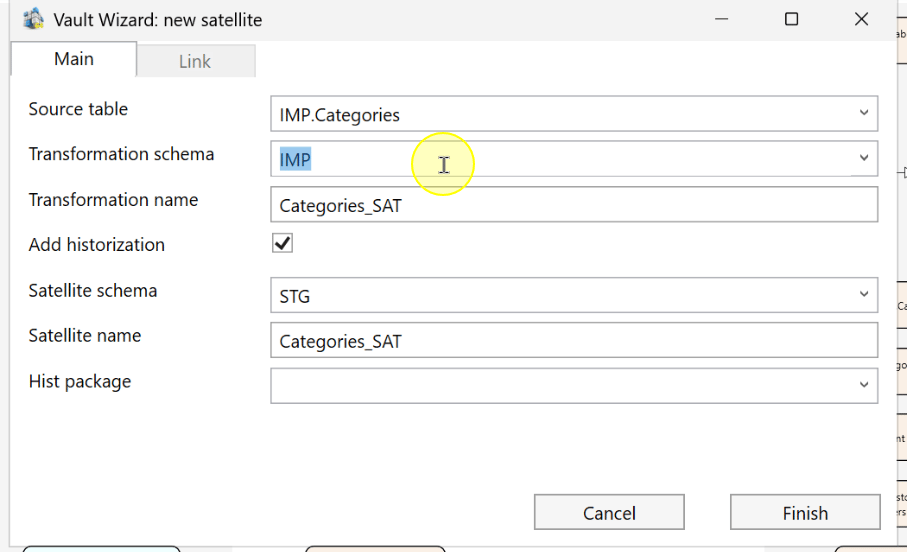
Enter or review Transformation name. The example uses Categories_SAT; check it together with Transformation schema.
Review the transformation name. 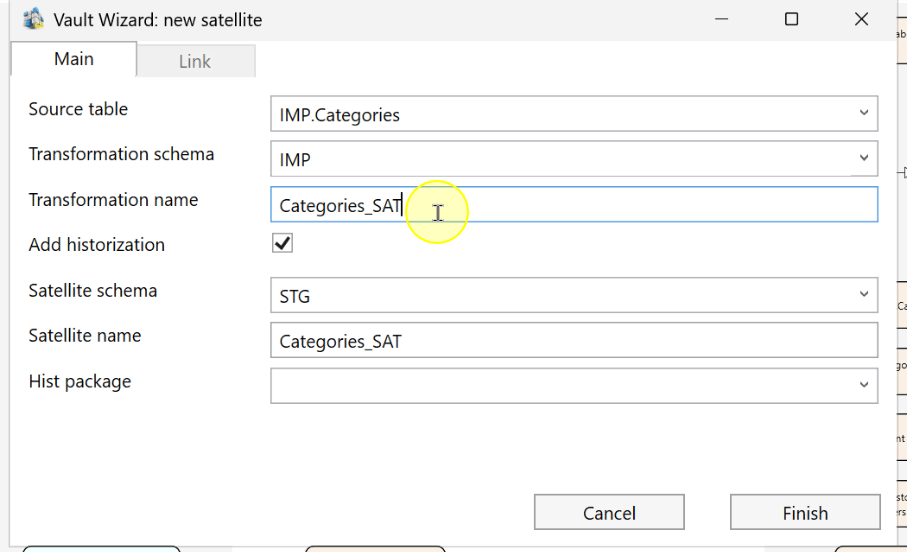
Set the Satellite and historization fields
Select Satellite schema for the Satellite. The example uses STG, while its transformation schema is IMP.
Set the satellite schema. 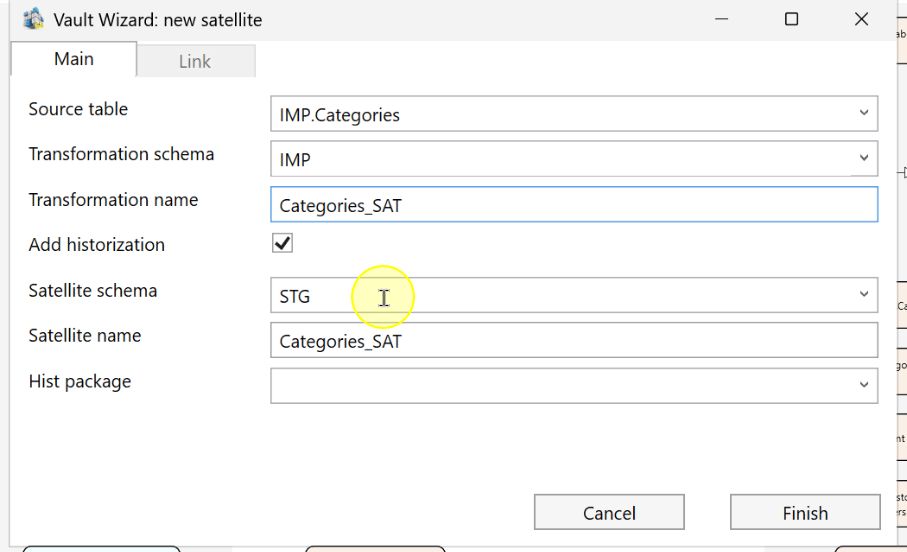
Enter or review Satellite name. The example also uses Categories_SAT here. Confirm the Satellite schema and name as a pair.
Set the satellite name. 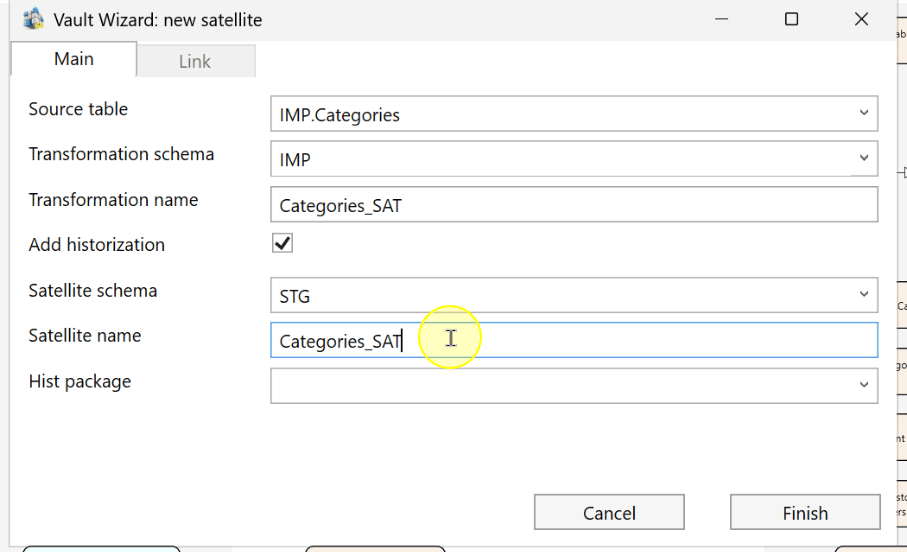
Review Add historization against the prepared design and select the required Hist package. The example has Add historization selected and uses Categories as the package. Check both settings before continuing.
Select the satellite package and review historization. 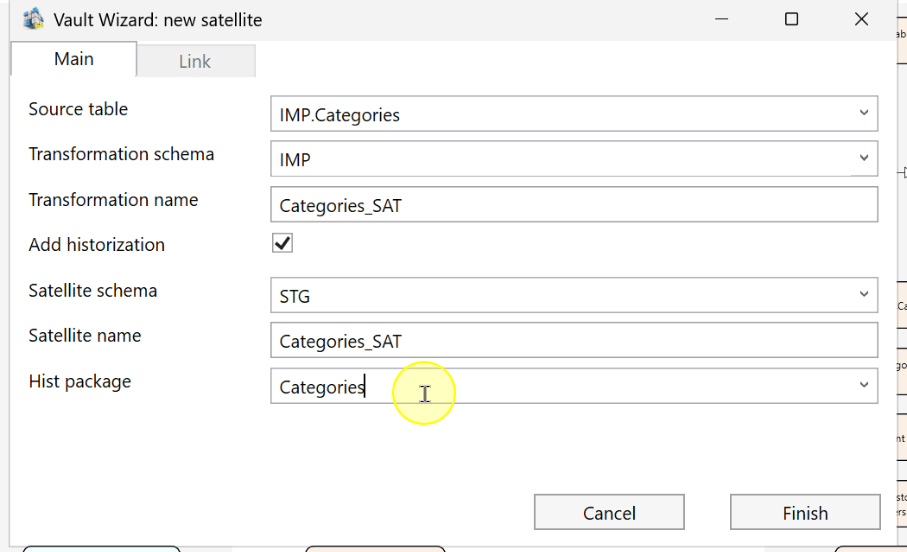
Review and finish
Review Source table, the transformation and Satellite names and schemas, Add historization, and Hist package before finishing.
Click Finish. Inspect the created Satellite definition using the checks in Expected Results before executing its package.
Finish the new-satellite wizard. 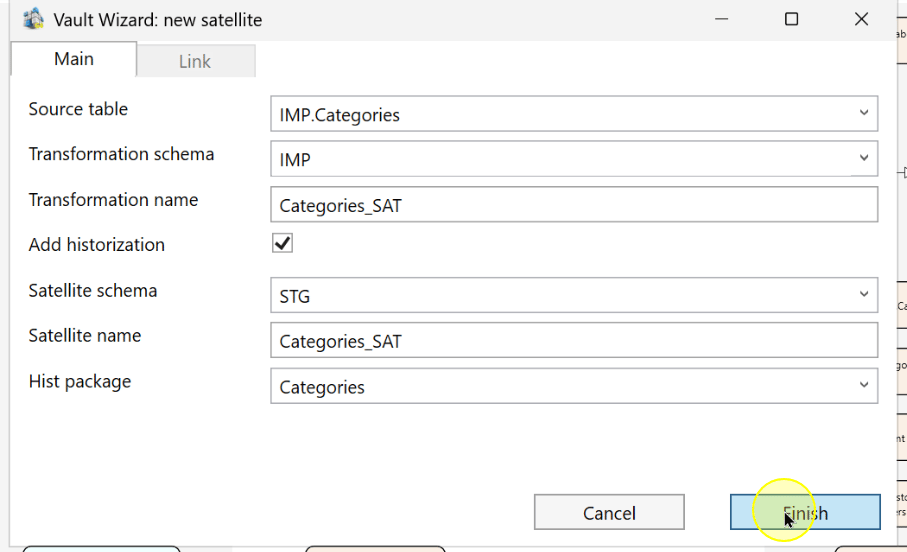
Expected Results
- Locate the Satellite under the schema and name entered in the wizard. Compare its identity and source with the intended configuration.
- Check the associated transformation against the transformation schema and name entered.
- Verify the intended parent Hub or Link relationship, source, hash keys and attributes against the prepared model.
- Review historization and the selected package before package execution. Finishing the wizard does not by itself demonstrate a successful data load.
Decisions and variations
- Object identities: transformation and Satellite names can appear alike in the example, but their schemas and fields identify different definitions. Review each pair separately.
- Parent relationship: a Satellite requires a valid parent relationship. Keep the intended Hub or Link and its key available when inspecting the created definition.
Troubleshooting
- The wizard shows an unexpected source: compare Source table with the table selected on the diagram and select the intended input before finishing.
- The expected Satellite is difficult to identify: check the Satellite schema and Satellite name used in the wizard, rather than looking only for the transformation name.
- The created definition does not match the prepared model: compare its source, parent relationship, hash keys, attributes and historization with the intended configuration. Resolve that mismatch before executing the package.
