
Configure a Direct Connector
Introduction
A Direct Connector defines direct access to a source database on the same server or through an existing linked server. Use this how-to to create the Connector in your Data Warehouse (DWH) project, enter its server and database settings, test the connection, and save and check the definition.
The intended outcome is a saved Connector that points to your source database and passes the connection test. Saving the definition does not read source metadata, load data, or execute a deployment.
Applicability
Use this workflow when your project's source configuration requires the DIRECT Connector type and the database connection route already exists. A linked server is an existing server configuration used to access a database on another server; creating that configuration is outside this task.
The steps use the AnalyticsCreator desktop Connector editor shown below. Use your own project names and connection settings. The screenshot values and blank fields are examples, not required values or recommended defaults.
Prerequisites
3.1. An open Data Warehouse (DWH) project that you can edit and the name you intend to give the new Connector.
3.2. An existing source database, its confirmed server or linked-server identifier, and access through that connection route.
3.3. A verified project connection configuration, including the server and database names. If the project uses deployment variables for this connection, their configured names must also be available.
Steps
Open a new Connector
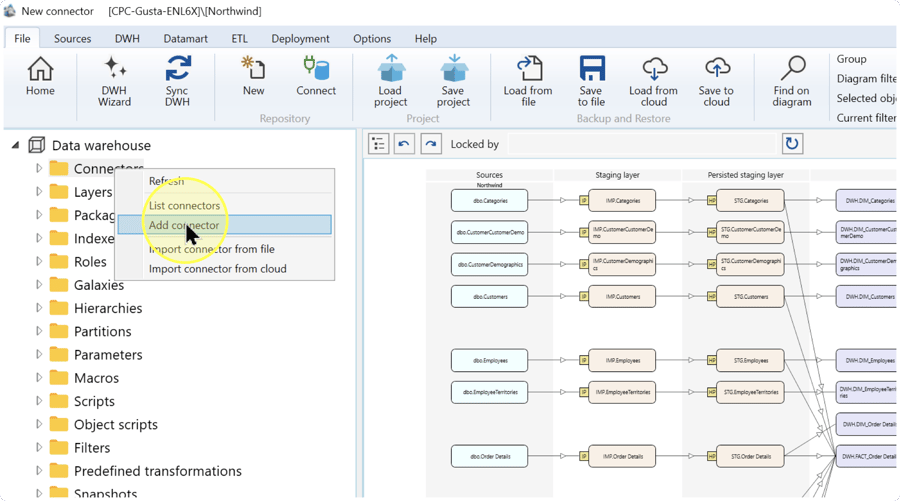
In the navigation tree of the intended Data Warehouse (DWH) project, right-click Connectors and select Add connector. The new Connector editor opens.
Name the Connector and select DIRECT
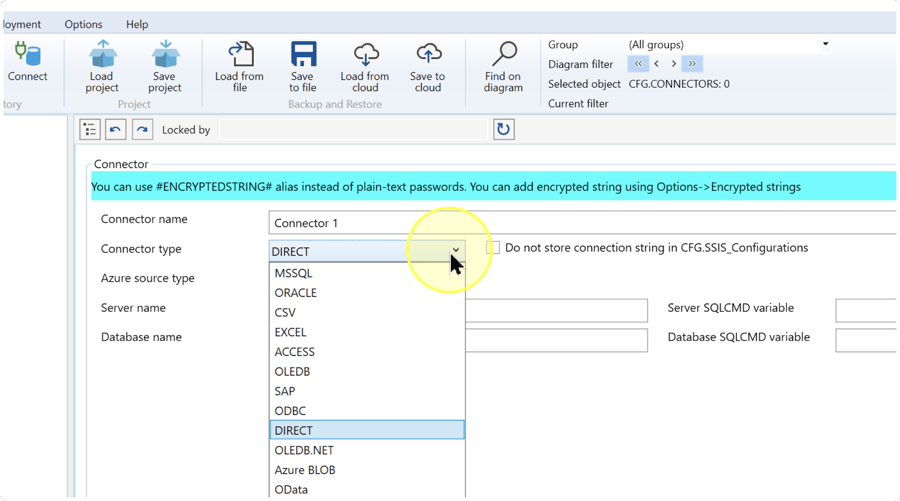
In the Connector editor, enter the name you want to identify this connection in Connector name. Select DIRECT in Connector type. This type uses the server and database settings described in Enter the server, database, and required variable names.
The Connector name identifies the connection definition in the project; it does not have to match the source database name. Connector 1 is the pictured example, not a required name.
Enter the server, database, and required variable names
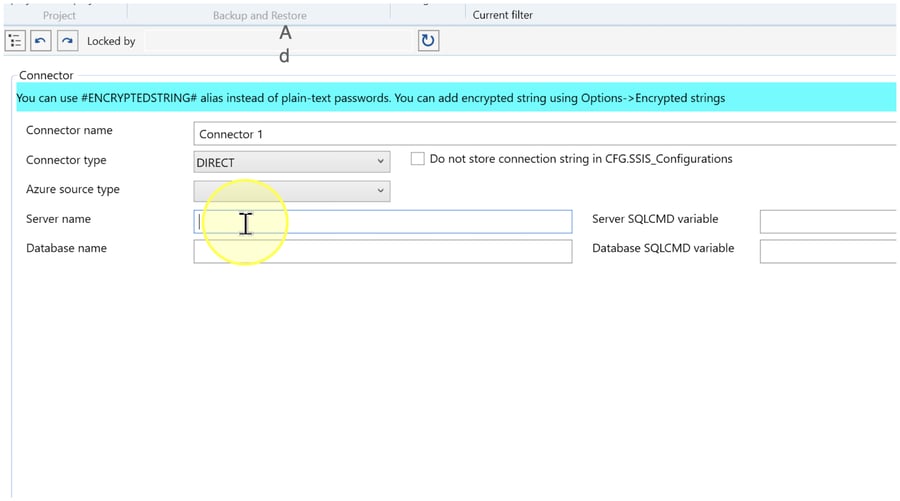
Use the settings below Connector type to identify the intended source database. Enter the values from the same verified project connection configuration:
- Server name — Enter the server identifier for the intended source. If access uses a linked server, enter the identifier specified by that existing linked-server configuration. This field identifies the connection route; entering a name does not create a server or linked server.
- Database name — Enter the name of the existing database containing the source objects you need. Check that it is the intended database on the server identified above, not merely another accessible database.
- Server SQLCMD variable / Database SQLCMD variable — These settings identify deployment variables associated with the server and database. If your project configuration specifies them, enter the configured server-variable name in Server SQLCMD variable and the database-variable name in Database SQLCMD variable. If no variables are specified for this connection, leave these settings unchanged. Do not invent variable names or substitution expressions.
Database name example: if the existing source database is named SourceSales, enter SourceSales in Database name. This selects that database as the connection target; it does not rename the database or the Connector.
Before testing, compare the server, database, and any variable names with your project configuration. If a required variable name or its entry format is unclear, obtain the confirmed configuration from the project owner before proceeding.
Test the configured connection
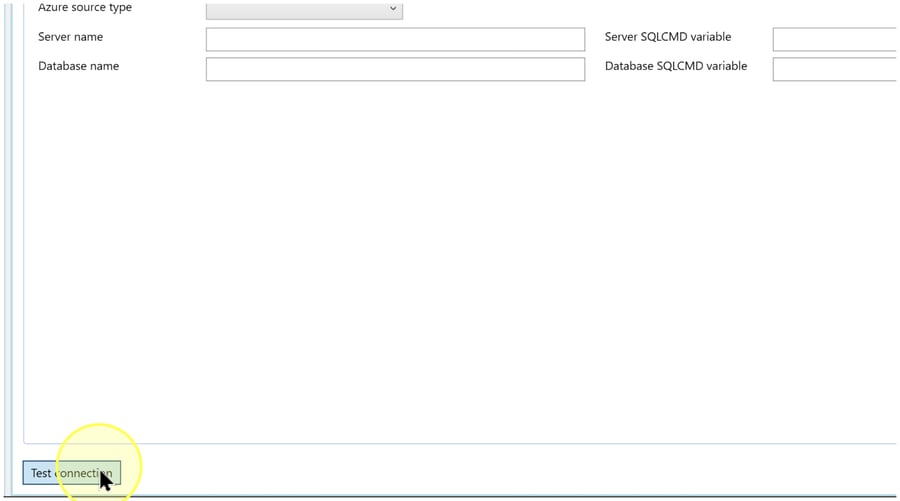
After entering the connection settings, click Test connection at the bottom of the editor and read the reported result. Proceed to Save the Connector definition only when the test reports success for the intended source configuration.
If the test reports an error, use the checks in Troubleshooting, correct the relevant settings, and click Test connection again. Clicking the button alone is not confirmation that the connection succeeded.
Save the Connector definition
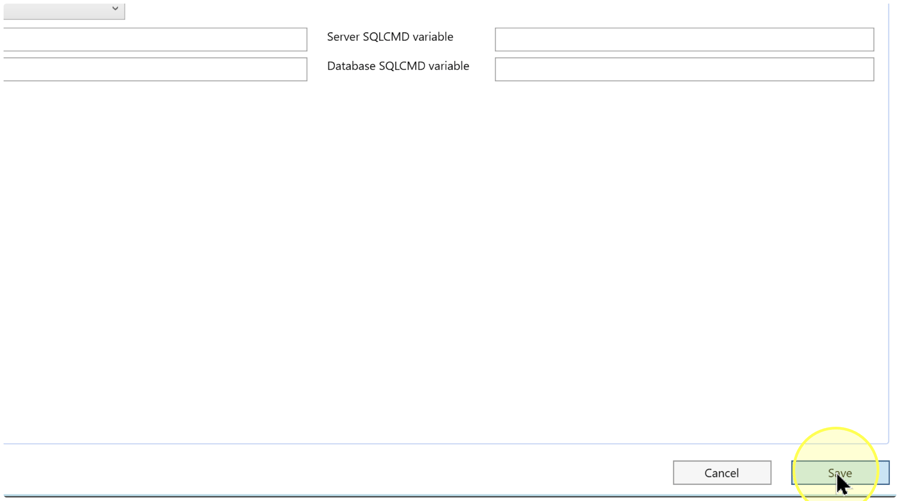
After a successful connection test, review Connector name, Connector type, the server and database names, and any configured SQLCMD variable names. If you change the connection settings, repeat Test the configured connection before saving. Click Save at the lower right of the editor.
Reopen and check the saved Connector
Expand Connectors in the navigation tree and locate the name you saved. To find it in a list, right-click Connectors, select List connectors, and locate the matching entry.
In the navigation tree, right-click the saved Connector and select Edit connector. Check that Connector name, DIRECT in Connector type, Server name, Database name, and any configured SQLCMD variable names retain the intended values. Click Test connection again and confirm the reported result.
If a saved value is incorrect, correct it, repeat the connection test, click Save, and reopen the Connector to check the retained settings.
Expected Results
5.1. The new Connector can be found by the name you entered under Connectors or in List connectors.
5.2. Reopening the Connector shows DIRECT and the intended server, database, and configured SQLCMD variable names.
5.3. Test connection reports success for the saved configuration. Use the checks in Reopen and check the saved Connector to verify this outcome.
A saved definition and a successful connection test do not establish that metadata has been read, data has been loaded, or a deployment has been executed.
Decisions and variations
Same-server or linked-server access
The value in Server name depends on the existing route to your source. Use the server identifier from the same-server configuration or the identifier from the linked-server configuration, as explained in Enter the server, database, and required variable names. Do not create a different connection route by copying a screenshot value.
Deployment-variable names
Enter SQLCMD variable names only when specified by the project's connection configuration. Keep each name aligned with its corresponding server or database variable. When no variable is specified, leave the setting unchanged; the blank screenshot fields do not establish a rule for every project. Resolve an unclear variable configuration before testing or saving.
Troubleshooting
- Server/database cannot be reached — Read the connection-test error and compare Server name and Database name with the verified source configuration. If those values are correct, ask the database administrator to confirm the existing same-server or linked-server route and source access. After correcting the problem, repeat Test the configured connection.
- Variables are unclear — Obtain the configured variable names and required entry format from the project owner before entering them. A field label alone does not specify a variable's replacement value.
- Wrong source after reopening — Check that you opened the intended Data Warehouse (DWH) project and the saved Connector with the name you entered. Compare its server and database with the intended source. Correct any incorrect settings, retest, save, and reopen as described in Reopen and check the saved Connector.
